
Search...
EN/
USD
Language
Currency
$
USD
Sign-in with steam
Austin 2025 Major Highlights
What Is a Highlight Charm?
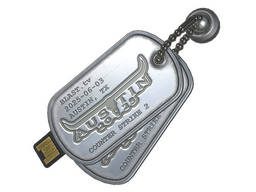 A Highlight Charm in CS2 is a collectible item introduced during the BLAST Austin 2025 Major. It's a small charm that attaches to a weapon, and what makes it special is that it contains a short replay clip from a real match. Showcasing a key moment like a clutch, ace, or funny fail from the tournament. You can view the highlight directly in your Inventory on the weapon it's attached to.
Where Can I Get a Highlight Charm?
Players can get a Highlight Charm by purchasing a Souvenir Package from the BLAST Austin 2025 Major. These special packages contain weapon skins that come with a Highlight Charm already attached. Starting July 11, 2025, the first Highlight Charms will become available, and in addition to in-game drops and purchases, you'll also be able to find them on SkinSearch.
All videos

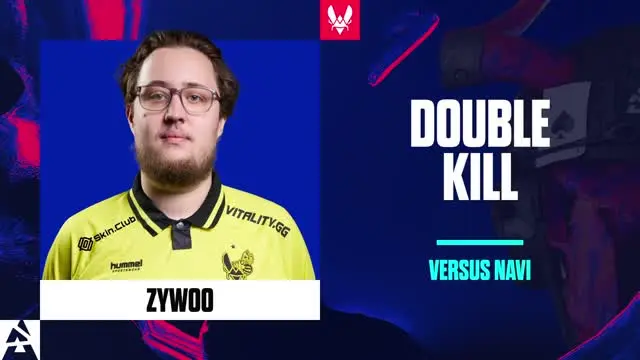
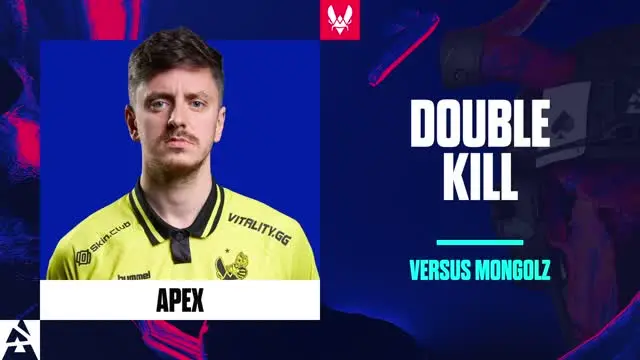
chopper Double Kill
chopper gets a double kill on the A-site defense from Balcony on Mirage.

100 Utility Damage
chopper dies from full health due to utility while hiding behind the boxes in top mid on Mirage.
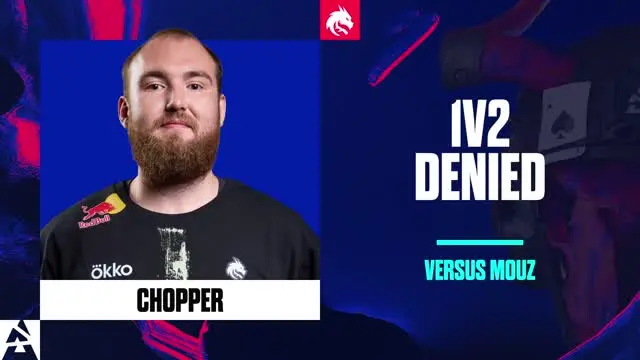
1v2 Denied
Brollan's one-versus-two attempt is denied by chopper, who wins the duel from Stairs on Mirage.

chopper Triple Entry
chopper gets three kills on the A-site offense, securing the map win for Spirit.
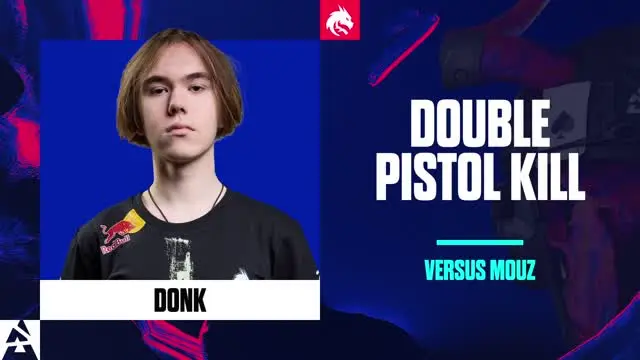
Double Pistol Kill
donk gets two kills during the CT retake on Mirage in the pistol round.

Pros Never Fake
donk secures the round with three kills, sticking the defuse in a one-versus-one on the A-site of Mirage.

Inhuman Reactions
Quick reactions from donk earn him a fast double kill during the mid offense on Mirage against MOUZ.
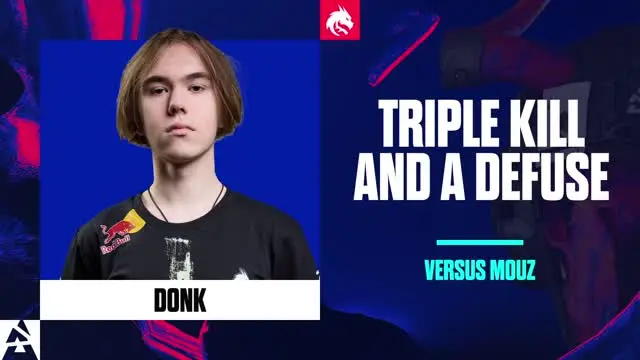
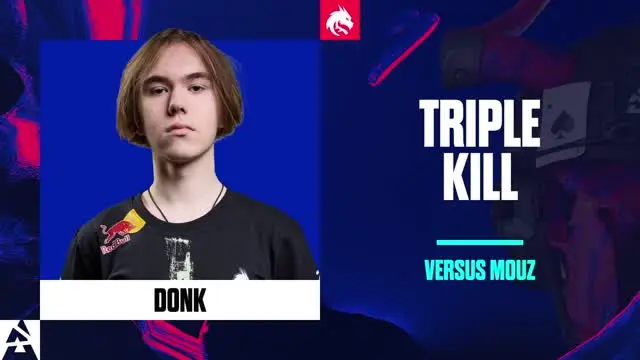
Triple Kill And A Defuse
donk lands a fast headshot onto torzsi in the one-versus-one, securing a triple kill and the round.

Jimpphat Quadra Kill
Jimpphat gets four kills on the B-site offense on Mirage to win back a three-versus-five.

The Run And Gun
Jimpphat takes down donk while running with his AK during the A-site offense on Mirage.

Jimpphat Double Kill
Jimpphat gets two kills to secure the retake for MOUZ on Mirage.

Always Buy A Defuser
Jimpphat nearly secures the one-versus-two clutch but runs out of time to defuse the bomb.

Jimpphat: The Clutch God
Jimpphat gets a double kill and shuts down the CT retake on the A-site of Mirage.

1v2 Clutch
Overtime is secured for Spirit as magixx pulls off a one-versus-two clutch on the A-site of Mirage.

Clutch King
magixx pulls off a one-versus-three clutch on the A-site of Mirage, earning four kills in the round.

Quick Reactions
sh1ro lands a fast AWP flick on B-site Mirage, securing the entry frag.

Missed Him
sh1ro fails to spot xertioN above the smoke in connector, giving xertioN perfect timing for the entry kill from short.
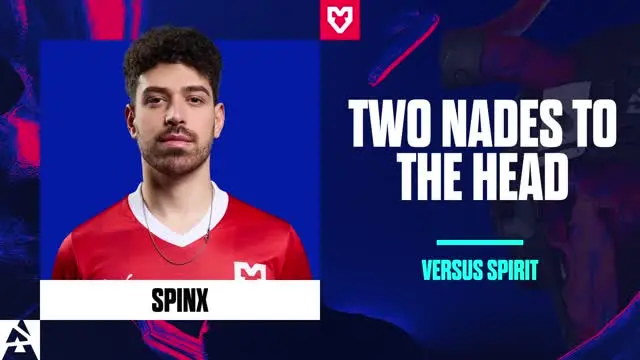
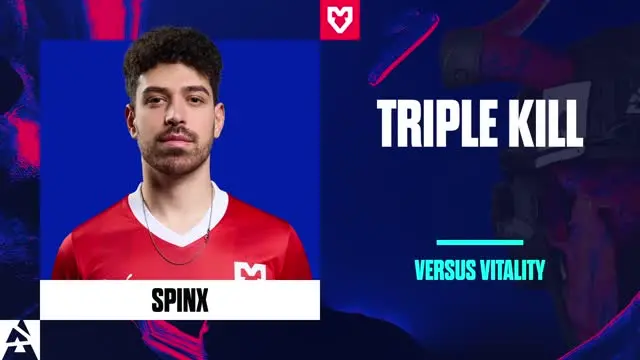
Two Nades To The Head
Spinx takes a double nade in mid on Mirage, dropping to three health.
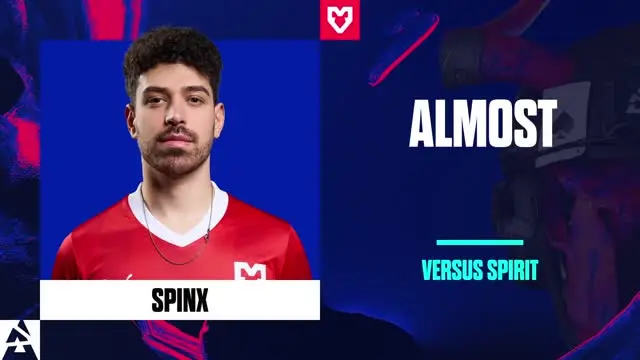
Almost
Spinx gets two kills and nearly pulls off the one-versus-two clutch but loses the final duel on the B-site.
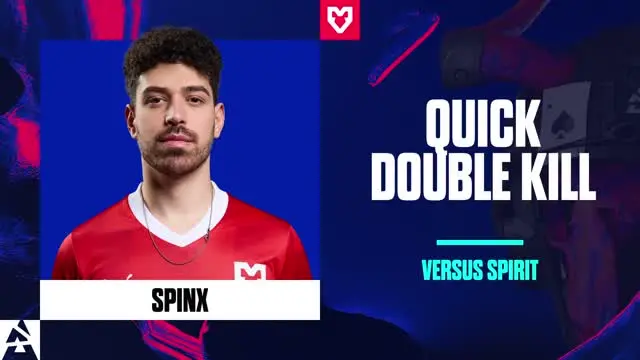
Quick Double Kill
Two fast kills on the B-site defense on Mirage from Spinx secure overtime for MOUZ.

Spinx Quadra Kill
A failed A-site hit from MOUZ is saved by Spinx's hero quad kill, winning them the two-versus-five and securing the final frag with an HE grenade on Mirage.

torzsi Triple Kill
Three pistol kills for torzsi as he secures the second pistol round on Mirage for MOUZ.

Burning Triple Kill
torzsi with a triple kill in the round, the last coming from a well-placed molotov to stop the bomb planter..
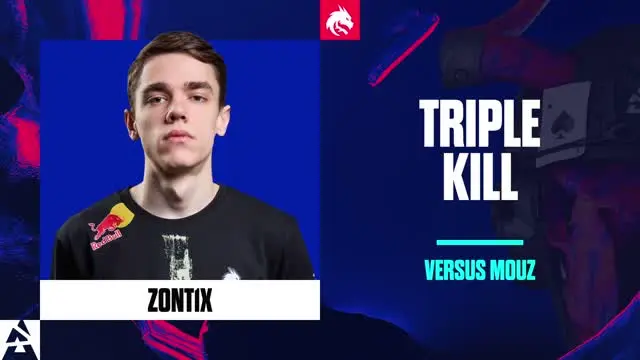
zont1x Triple Kill
The A Palace lurk from zont1x nets him three clean kills on Mirage.

A Triple And Icy Veins
zont1x gets three kills and wins the afterplant as Jimpphat runs out of time to defuse the bomb on the A-site of Mirage.
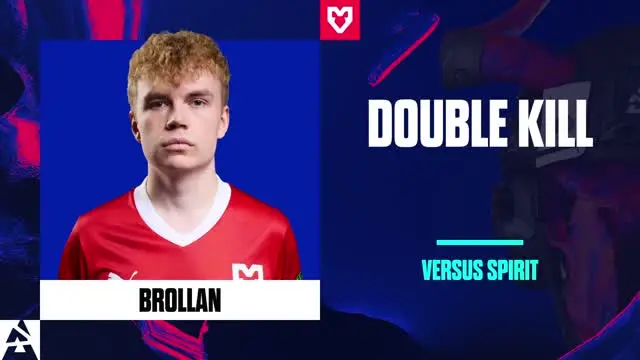
Brollan Double Kill
Hiding behind the smoke gives Brollan the opportunity for two quick pistol frags on the A-site defense.

Brollan Triple Kill
One quick kill with the Five-Seven gives Brollan an M4A1, allowing him to secure a triple kill and clutch the round on Dust2.
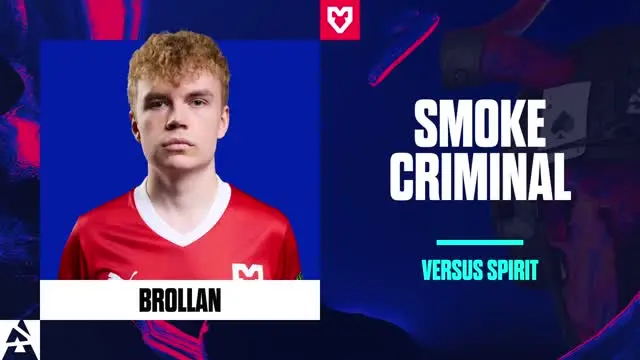
Brollan Smoke Criminal
A single bullet through the smoke gives Brollan a double kill during the pistol round on the A-site offense.

The Iron Man
Brollan takes damage from three HE grenades and a Molotov, dying from full health - but still manages to secure a frag before going down.

Too Fast Reactions
Despite being low on HP, Brollan instantly headshots chopper to open up the A-site.

The Flying Spray
chopper picks up three kills with the MP9, finishing the final frag mid-air while jumping to secure the A-site retake.
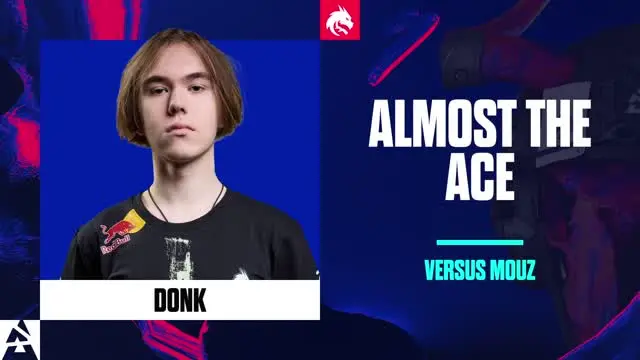
Almost The Ace
donk lands a spray transfer and picks up four kills, but falls short in the one-versus-one clutch against Jimpphat, missing out on the ace and the round.
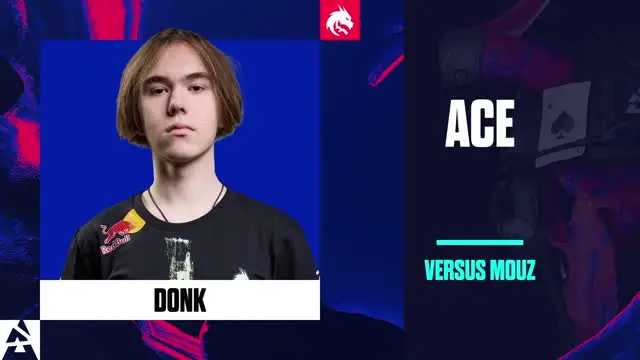
donk Ace
donk picks up a fast, clean ace with the M4A1 on the B-site defense.
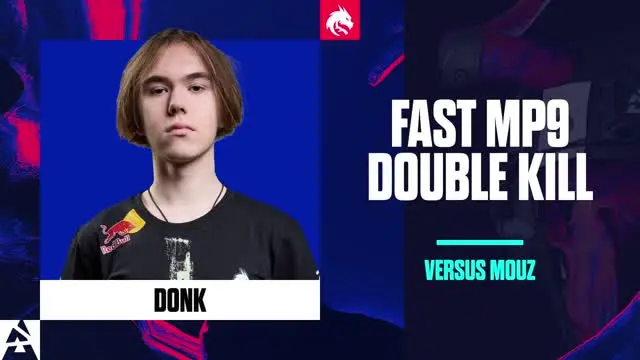
Fast MP9 Double Kill
Two quick MP9 kills from donk help Spirit secure the retake.

1 Holds 1 Dodges
donk dodges the long flash and instantly lands a headshot entry onto Brollan.

I'm Right Behind You
The AK-47 helps Jimpphat land quick headshots for a quad kill on the A-site retake.

Jimpphat Double Entry
Two clean entry frags from Jimpphat give MOUZ an open B-site.

Baited Into A Double Kill
With the Scout in mid, torzsi baits for Jimpphat, who capitalizes with two clean frags.
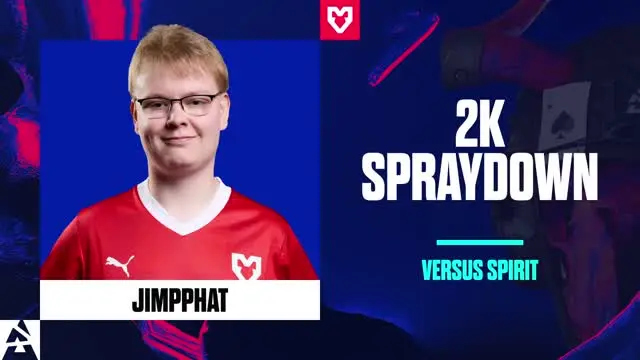
2K Spraydown
Jimpphat delivers a two-kill spraydown to lock down the B bombsite.

Not Over Yet
magixx picks up a triple kill to secure the retake on Dust2.

magixx Double Kill
Hiding at Goose, magixx lands two quick kills to hold the A-site defense on Dust2.

Scout Demon
sh1ro lands a no-scope headshot through the smoke with the Scout and finishes with three kills on the A-site offense on Dust2.
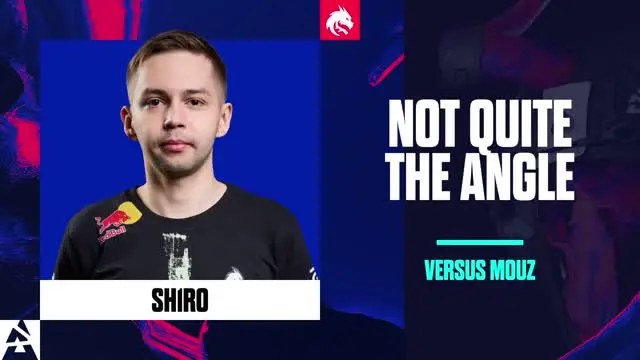
Not Quite The Angle
sh1ro misthrows his HE grenade, failing to clear the smoke and missing a good opportunity for a free entry.

Sharpshooter
sh1ro lands a clean AWP entry, then picks off the flanker to secure the round for Spirit.
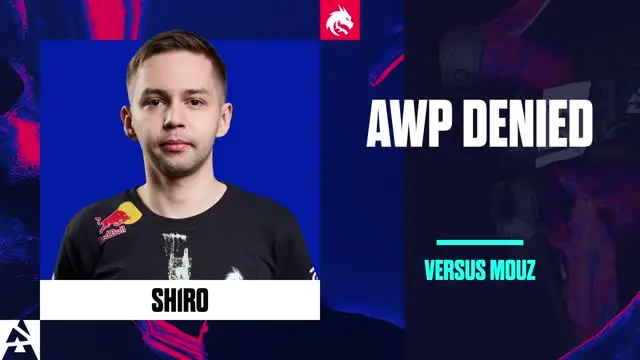
AWP Denied
sh1ro throws away his AWP in a hopeless one-versus-two to prevent MOUZ from recovering it for the next round.
Spinx Dust II Triple Kill
Spinx delivers a clean triple kill from Goose, holding down the A-site defense on Dust2.

Masterclass Lurk
A masterclass lurk from Spinx earns him two kills and a free B-site - then he finishes the job with four kills to win the game for MOUZ.
Where Are You Buddy?
Spinx fails to make an impact with his lurk, allowing Spirit to defuse the bomb uncontested in a one-versus-two.
Spinx: Help Is Here
Supporting the B-site, Spinx picks up two follow-up frags to bolster the defense.

xertioN: The Joker
A gamble toward B-site ends with xertioN pulling off three kills to secure the round on the B-site.

xertioN Dust II Triple Kill
xertioN finds the entry and adds two more kills in the afterplant, but it's not enough to win the round.
Missed Him But It's Okay
xertioN sneaks past chopper for a free kill, but chopper redeems himself with two clean headshots to secure the round for Spirit.
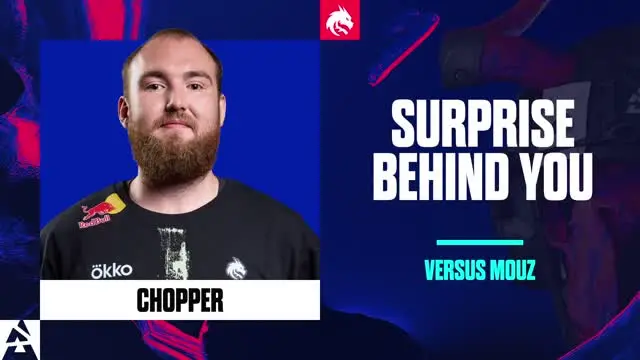
Surprise Behind You
Miscommunication and chopper failing to hear the doors open give Jimpphat a free kill to crack open the B-site on Nuke.

Triple Pistol
donk holds down the A-site with three clean pistol kills to secure Spirit the first round.
donk Triple Kill
sh1ro clears the smoke for donk, helping him secure three clean kills with the AK-47 from Main on Nuke.

Stand Still
donk misses his chance for a multi-kill, whiffing twenty bullets with the AK-47 on the B-site defense.

3-2-1-GO!
Rushing out from Heaven with the MP9, Jimpphat grabs two kills and wins the one-versus-one to defuse the bomb.

Jimpphat Spray And Pray
Jimpphat picks up a kill on the Ramp hold, then later finds another through the smoke for two kills in the round.

Anchoring Double Kill
The A-site is locked down as magixx picks off two clean frags from behind the silos.

Double AWP Entry
sh1ro lands two clean entry kills with the AWP outside on Nuke.

Wont go quietly
sh1ro puts himself in a winnable one-versus-two clutch to keep Spirit in the game, but falls just short.
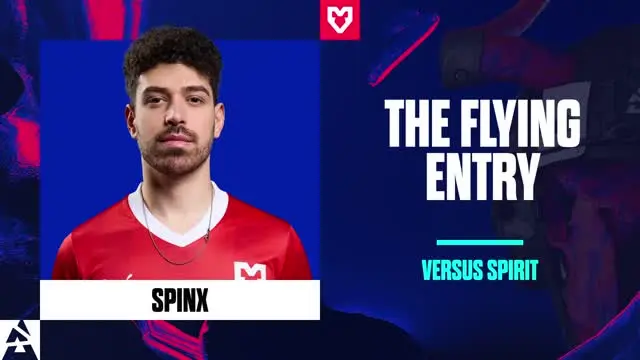
The Flying Entry
Spinx flies around Outside, securing two fast entries and ending the round with a total of three kills.
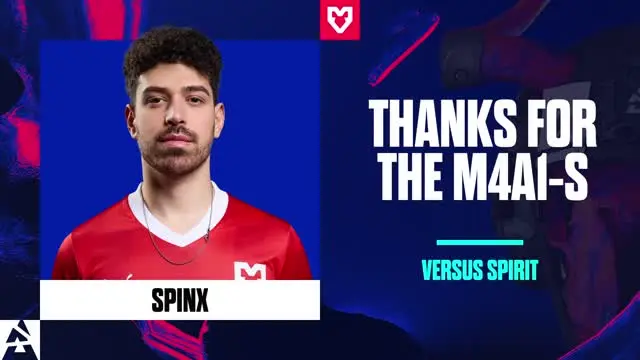
Thanks For The M4a1-s
A Tec-9 entry from Spinx nets him an M4A1-S, which he uses to grab two more kills and secure the round for MOUZ.

Nuke Double Dink
Spinx helps lock down the A-site with two crisp pistol headshots.
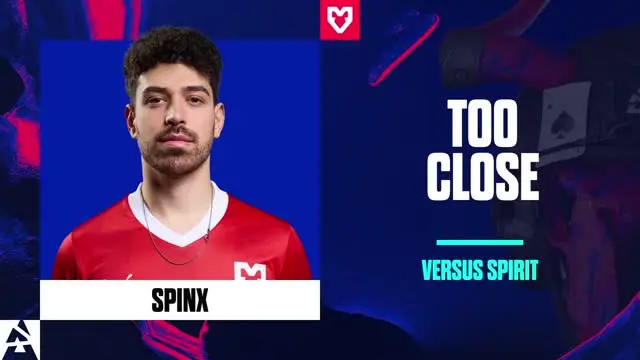
Too Close
Spinx attempts the ten-second defuse with Spirit players still alive, but is forced off the bomb at the last second and loses the round.

Spinx Double Nuke Kill
Hiding behind the silo on the B-site, Spinx secures two kills on the defense.

The Help Is Here
Rushing in to support the B-site, Spinx secures two clean kills with the AK-47.
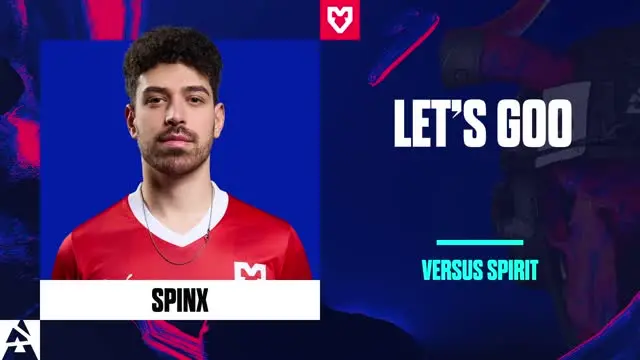
Let's Goo
Two kills from Spinx help MOUZ secure the final round of the series.

torzsi Double Nuke Kill
A quick double kill from torzsi secures the round for MOUZ in a two-versus-two clutch.

AWP Double Kill
torzsi shuts down the Outside lurks with his AWP, picking up two clean frags.

The Relocate
torzsi finds an entry kill Outside, then quickly rotates to Ramp for another clean AWP frag on the CT side.

Surprise Boost
A cheeky boost sets up torzsi with the advantage, allowing him to win the AWP duel Outside against sh1ro.

xertioN: The Nuke Eco Fragger
xertioN picks up a fast triple kill Outside against Spirit's eco round.

xertioN Nuke Triple Kill
Despite being surrounded on the A-site, xertioN pulls off three kills to secure the round for MOUZ.

Damage Dealer
Ramp is on lockdown as zont1x lands a perfect HE grenade, earning a free kill and two assists.

Textbook hold
A solid ramp hold with well-timed utility sets up zont1x for an easy triple kill.

The Ninja Lurker
zont1x pulls off a masterclass lurk, sneaking into a strong position on the A-site to grab a kill and secure the round for Spirit.

Tec-9 Tapped
biguzera attempts to hold the B-site, but FalleN's tec-9 is too powerful for him.

Captain Brazil
biguzera gets three kills and keeps his team alive on Nuke.

Sixth Sense
dgt gets two kills through the door smoke on Nuke, denying any rotations from Furia.

dgt Almost Clutch
dgt is left in a one-versus-three, and almost pulls it off. He gets all three kills, but not in time.
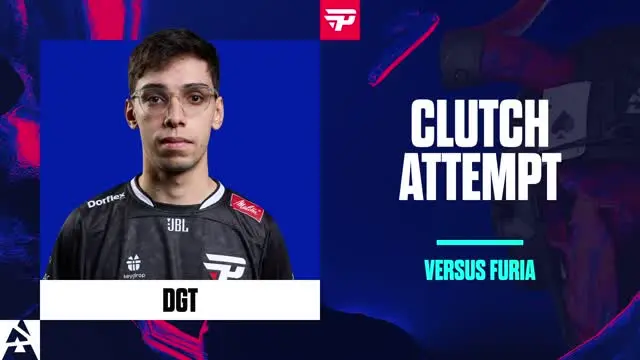
dgt Clutch Attempt
dgt attempts to clutch one-versus-three, but ultimately gets denied.

Lower Defense
FalleN kills two opponents on the B defense, locking down the site.

FalleN Double Nuke Kill
FalleN gets two kills as he defends the A-site, putting his team in a favorable position.

Leaving Scraps
FalleN attempts to finish off the paiN players, but gets overwhelmed and fails to finish any of the two players.

Tec-9 Master
FalleN gets the entry on the B-site and gives FURIA the opportunity to steal the round.
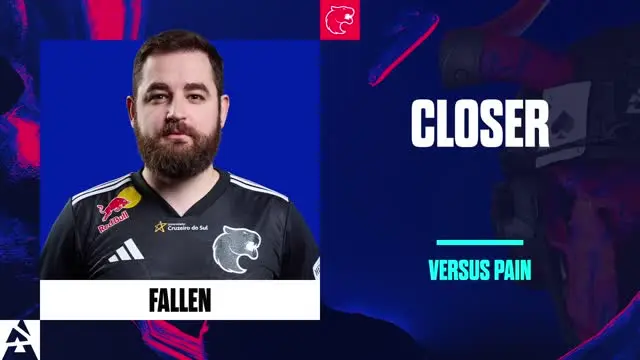
FalleN Closer
FalleN gets the final kill to put FURIA ahead in the series one-zero against paiN.
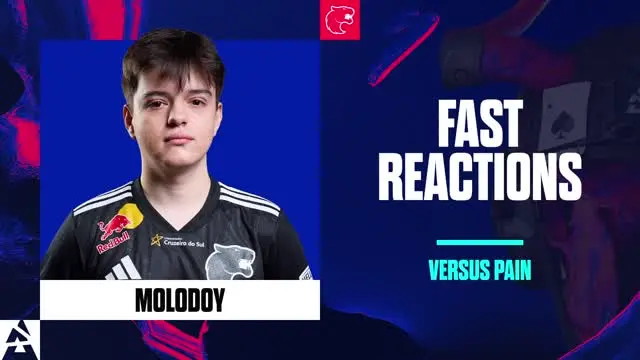
Fast Reactions
molodoy shows off his fast reactions, as he quickly adjusts his aim and kills the player jumping past.

molodoy Triple Kill
molodoy with three kills on the retake of A-site, putting his team in a winning position.
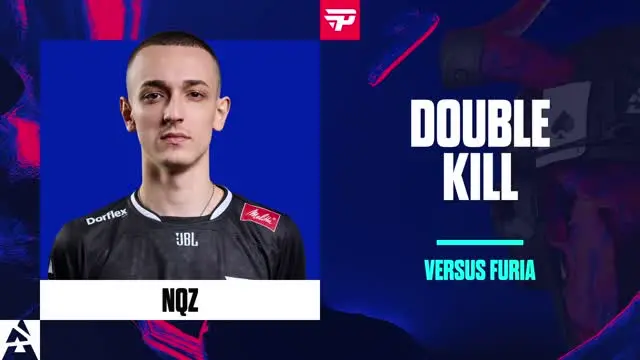
nqz Double Nuke Kill
nqz gets two kills to stop the lobby push from the opposition.

nqz Retake Denied
nqz shuts down the retake attempt, securing the final round of the half.
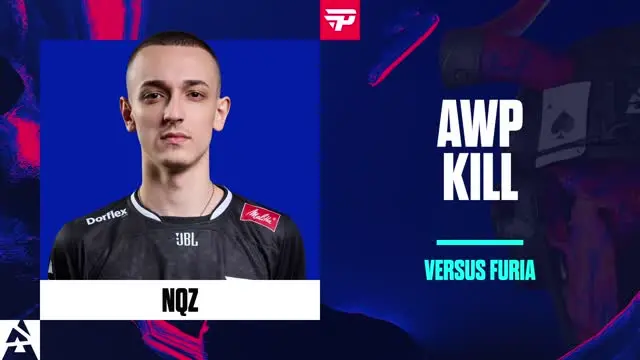
AWP Kill
nqz gets the opening kill in the yard with his AWP.
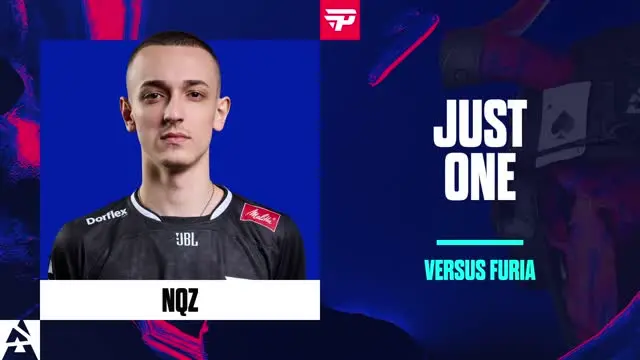
Just One
nqz gets set up with the Dualies, but only manages to get a single kill.
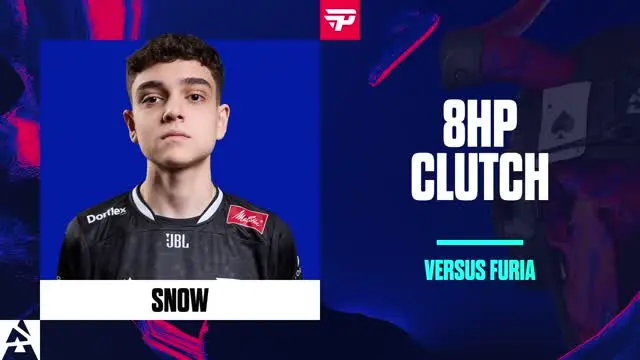
8hp Clutch
snow pulls off a clutch in the afterplant on the lower bombsite, with just eight health remaining.

Pistol King
snow gets three kills and wins the pistol round for his team.

Pistol Kills
YEKINDAR defends the A-site with two kills in the pistol round, one through a smoke.

Eco Farmer
YEKINDAR makes sure yard is locked down in the second round, defending against the eco round from paiN.

YEKINDAR Double Kill
YEKINDAR backs up his teammates and secures the ramp defense with two kills.
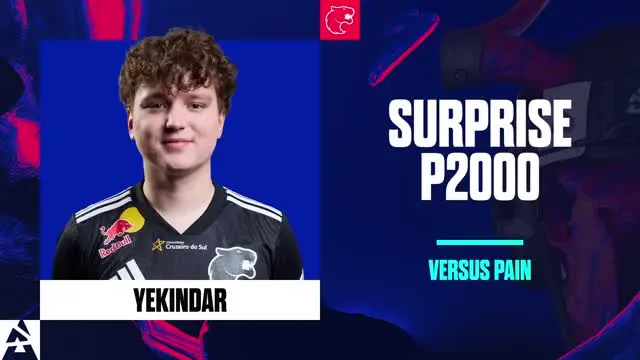
Surprise P2000
YEKINDAR sneaks around in yard, but gets caught out and gives up the entry to a surprise P2000.

Fire Fight
yuurih gets two kills, the final one being just as he burns down from the opposition's molotov.

Anchor Man
yuurih gets two kills from top hut, fending off the upper bombsite hit.
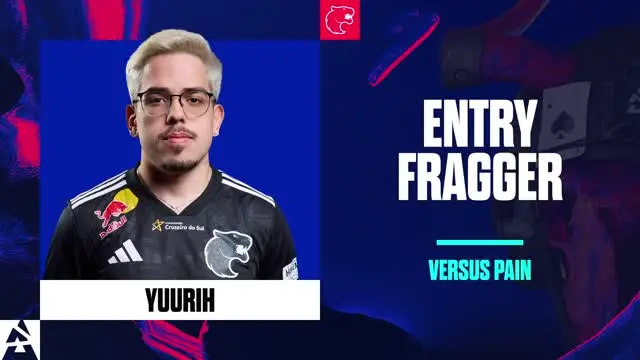
yuurih Entry Fragger
yuurih is sent in first on the upper bombsite, and takes down two on the entry.
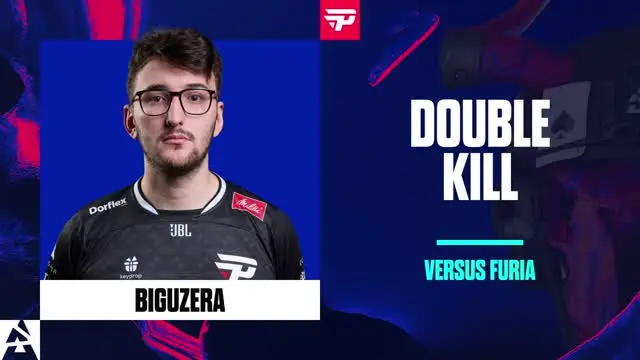
biguzera Double Kill
biguzera on low health gets two kills to end the map and secure a third map.

dav1deuS Double Anubis Kill
dav1deuS wins a one-versus-two scenario to secure the round.

Eco Frags
dav1deuS gets two eco frags and an assist in the fight for mid.

Closing Out
dav1deuS wins a one-versus-three clutch, he dies in the end but there is no time left.

Clutching Up
dav1deuS wins one-versus-three with two kills, and CTs running out of time for the second round in a row.

Smoke Defender
dav1deuS gets two quick kills in mid, as the T are pushing through the smoke.

Smoked'em
dgt has a sixth sense, as he gets four kills through the smoke in the pistol round.
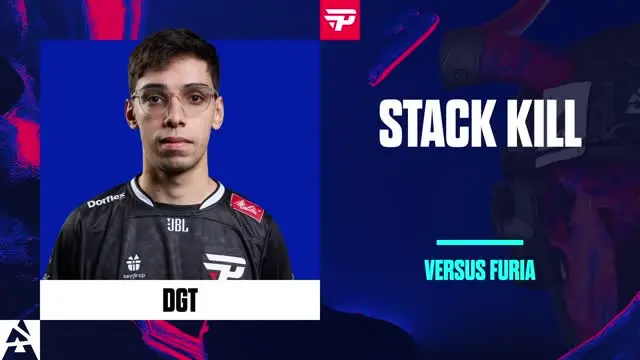
Stack Kill
dgt secures himself three kills vs eco, not falling to the FURIA stack on A-site.
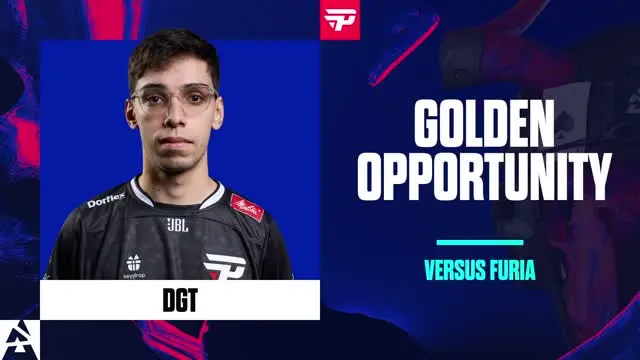
Golden Opportunity
dgt hides in a smoke, catching FURIA off guard, but only manages a single kill.

Sneaky Pistol
FalleN secures the round with two pistol kills.

FalleN Double Anubis Kill
FalleN with two kills on B-site to win his team the round.
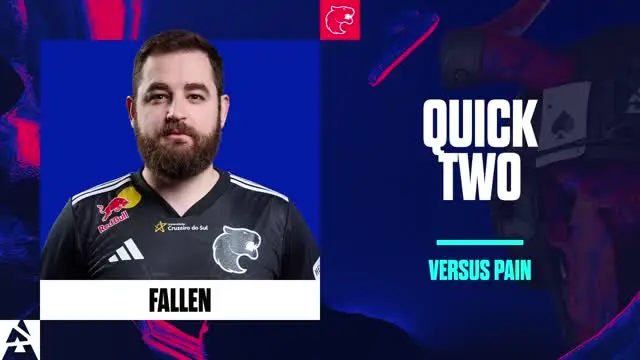
Quick Two
FalleN with two fast pistol kills to entry the round, and putting his team in a good position.

KSCERATO Kobe
KSCERATO doesn't need to use his gun, as he gets a kill with a well placed HE.

KSCERATO Too Slow
KSCERATO runs out of time clearing the site in a one-versus-two clutch, and loses to time.

KSCERATO Double Kill
KSCERATO gets two kills to open the round up on the attack.
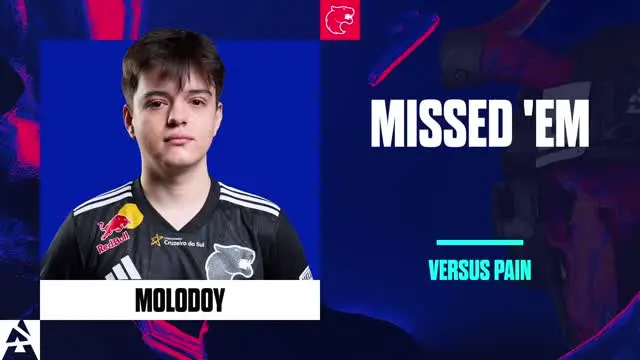
Missed'em
Molodoy has the opportunity twice to secure a kill, but misses both times and dies.

nqz Clutch Attempt
nqz attempts to pull back the round with a one-versus-two clutch, but ultimately fails.
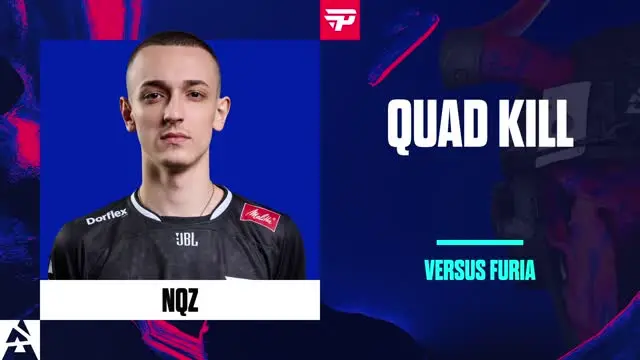
nqz Quad Kill
nqz gets four kills on the B-site defense, three with the awp and one with the dualies.

nqz Double Anubis Kill
nqz with two kills in the final round of the map, as paiN defends the B-site

snow Double Kill
snow plays aggressive and takes duels outside of the B-site, and secures himself a double kill.

Chaos Mode
snow thrives in the chaos of the execute, and gets two kills in the smokes.
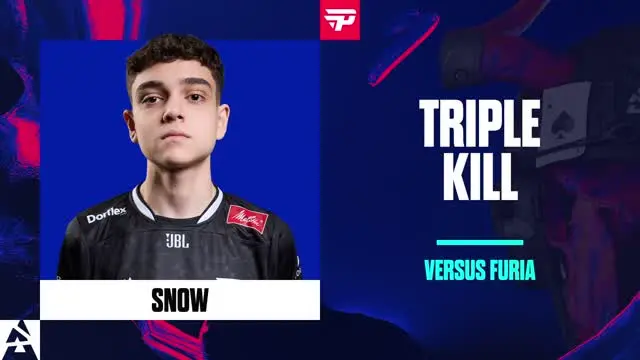
snow Triple Kill
snow gets three kills, showing off his skill with the MP9.

YEKINDAR Triple Kill
YEKINDAR gets three kills to fend off the retake on B-site.
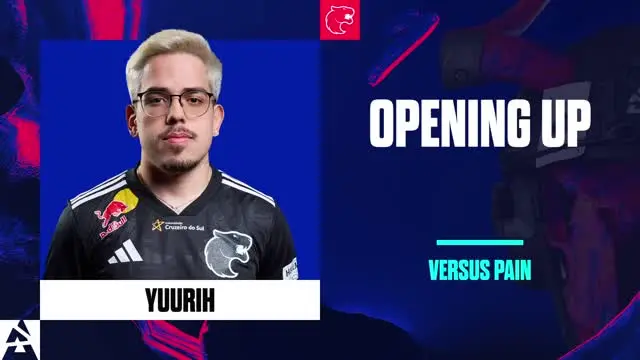
Opening Up
yuurih gets two quick kills in mid, opening up the round in FURIA's favor.

yuurih Double Kill
Two kills to close out the pistol round by yuurih.

biguzera: The Entry Demon
With two opening kills on the A-site, biguzera secures paiN the bomb plant and the round.

Surprise Flank
dav1deuS's flank from Banana catches two FURIA players off guard, earning him a double kill and securing the round.
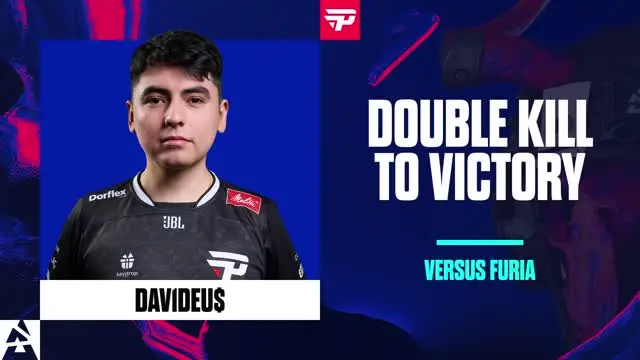
Double Kill To Victory
dav1deuS gets the final kill of the series, securing a double kill and sealing the victory for paiN.
Two FalleN Pistol Headshots
FalleN finishes off the last two with crisp USP headshots.

FalleN King Of Banana
FalleN picks up a triple kill on Banana, stopping paiN from reaching the B site.
Afterplant Secured
FalleN secures the afterplant with a triple kill to close out the round.

KSCERATO Triple Kill
The A-site offense gets shut down by KSCERATO with three kills from Pit.

Too Strong Jiggles
Three kills are all KSCERATO can manage, as paiN jiggle-peeks him in the afterplant, running down the clock and denying the ace clutch.

The Anchor In Pit
molodoy holds down the A-site alone, picking up three kills from Pit.

molodoy Almost The Hero
Two kills with the Tec-9 give molodoy the bomb plant, but he fails to capitalize in the one-versus-two clutch.
A Triple Into Overtime
molodoy wins the afterplant with a triple kill to secure overtime for FURIA.
Look Behind You
With perfect timing in the afterplant, nqz sneaks behind two enemies, earns a triple kill, and secures the round.
Miss Into A Double Kill
Despite missing his first shot from Pit, nqz manages to recover and secure two kills on the A-site defense.

nqz Too Slow
The reaction time isn't fast enough for nqz as he gets instantly headshotted by a running yuurih.

Peek Me And You're Dead
Mid is completely shut down by the CT as nqz picks up a triple kill with the AWP.

Applaud The Spraytransfer
A double kill spraydown from snow gets the crowd on their feet as he secures the round.

Jiggle Too Wide And You're Dead
An overly wide jiggle-peek from CT on the B-site gives molodoy the angle, and he punishes with the AWP.

Two YEKINDAR Pistol Headshots
YEKINDAR lands two quick headshots while rushing down Mid.

The Eco Hunter
YEKINDAR hunts down three eco frags with the MP9 from Banana.

Utility Rush
FURIA executes a fast Banana take with molotovs to clear out control, allowing YEKINDAR to find the opening frag.
Sneaky Double Kill
With cover from the AWP, YEKINDAR sneaks down mid and catches two players off guard.

YEKINDAR King Of Banana
B is locked down as YEKINDAR picks up a quad kill on Banana.

Flying Double Entry
YEKINDAR flies out of Apartments with two entry kills, opening up the site and finishing with a triple kill to secure the round.

Instant Reaction Headshot
A poor jumpspot from YEKINDAR gives biguzera the opportunity to land a quick headshot.
Two Is Not Enough
yuurih picks up a double kill from Apartments, but the defense is overwhelmed by paiN's rush.
The Grenadier
Aleksib plays smart with his utility, earning a triple kill and a chance at the ace clutch but ZywOo shuts him down.
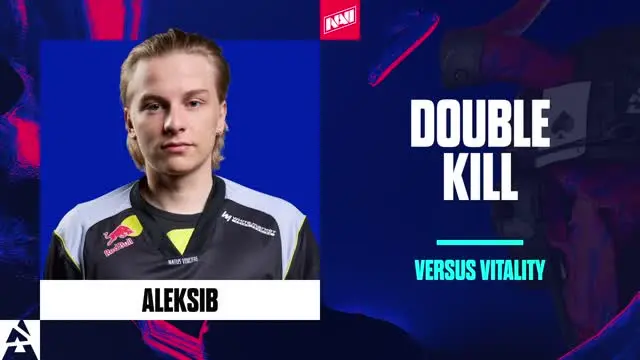
Aleksib Double Kill
Two fast USP headshots from Aleksib lock down the round for NAVI.

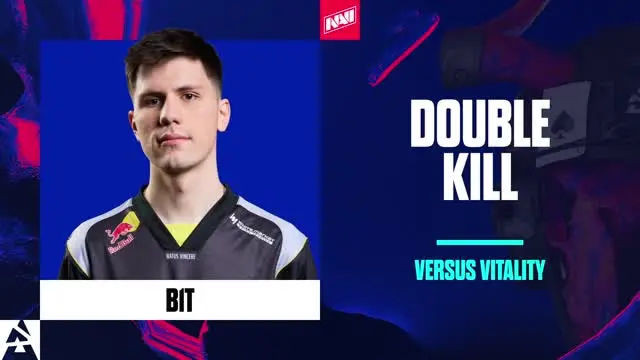
b1t Double Ak Kill
Two crucial AK headshots from b1t put w0nderful in a one-versus-one situation.
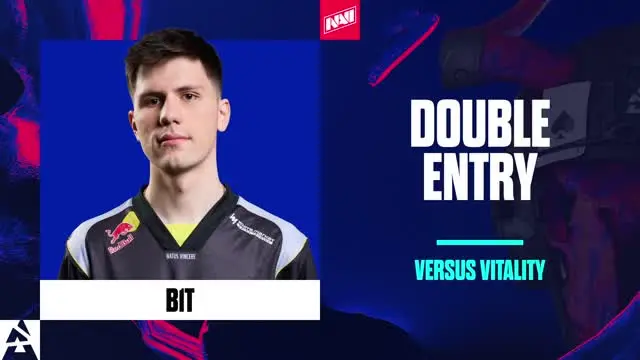
b1t Double Entry
Two fast entries on the B-site from b1t open up the site for NAVI.
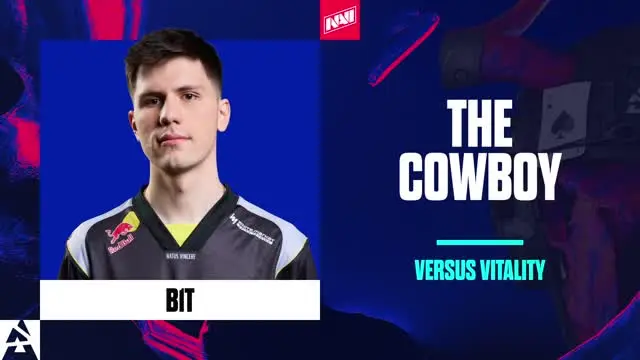
b1t: The Mirage Cowboy
A sick support flash helps b1t secure two quick frags with the Dual Berettas.
b1t Double MP9 Kill
b1t rushes behind top mid to secure two quick eco frags with the MP9.
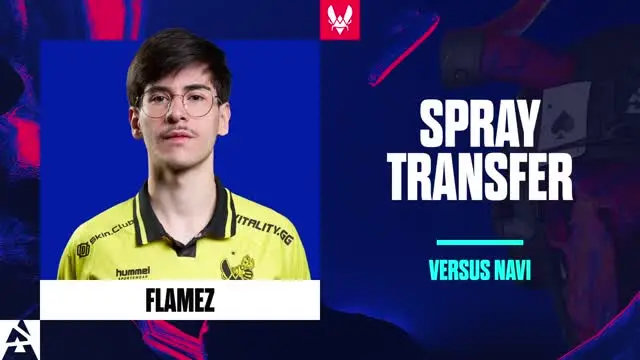
The Spray Transfer
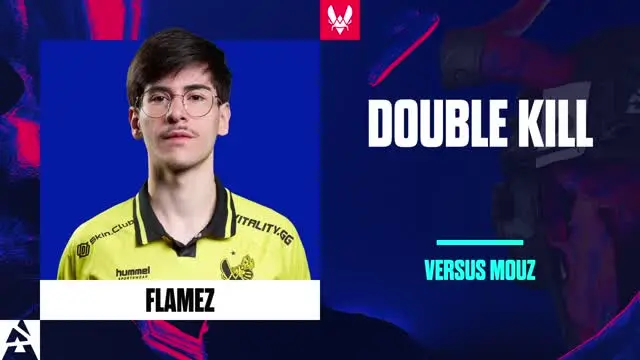
A spray transfer from flameZ nets him a double kill, helping Vitality open up the A-site.
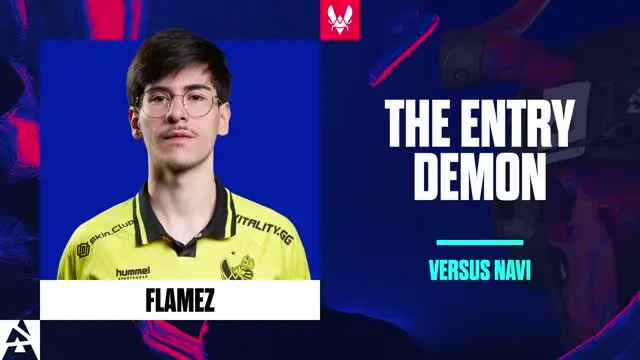
flameZ: The Entry Demon
A great clear by flameZ on A gives him the opening to secure a double entry kill, thanks to a well-timed support flash from apEX.
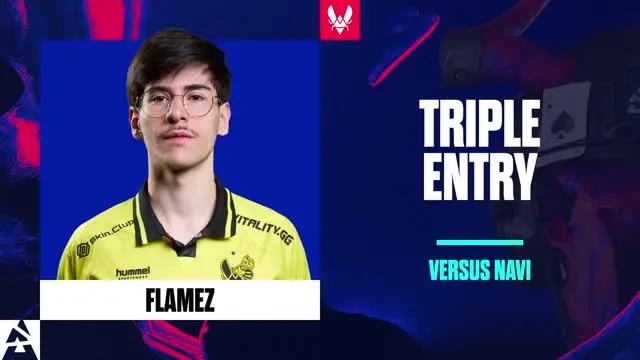
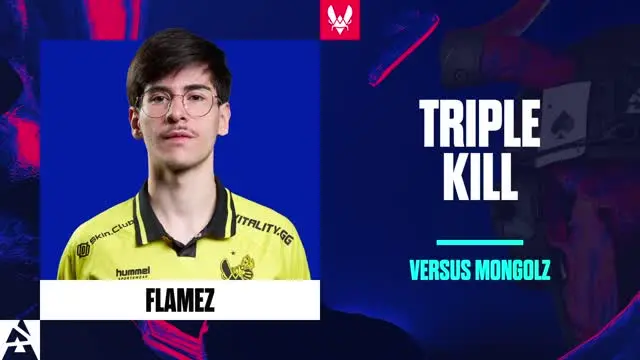
flameZ Triple Entry
flameZ, with perfect timing in Connector, opens up the map with three clean entry kills.
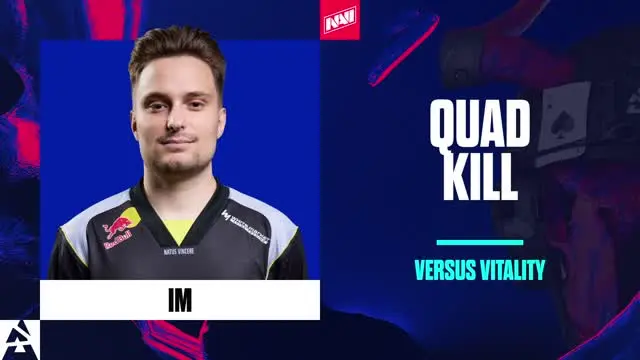
iM Quad Kill
iM's two-man spraydown secures him the quad kill and delivers the round win for NAVI.
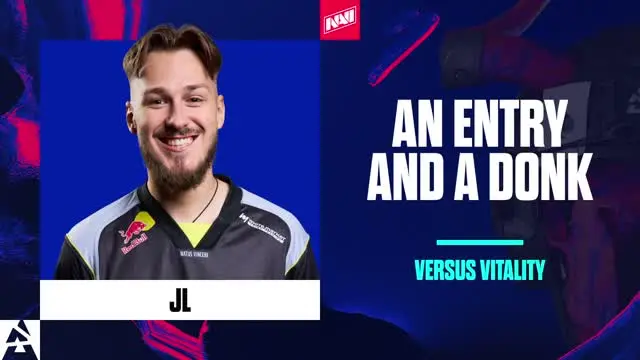
An Entry And A Donk
A swift entry kill and a well-placed HE from jL scare off Vitality in the post-plant.

Triple Headshot
Three clean headshots with the AK from jL secure the anti-eco round.
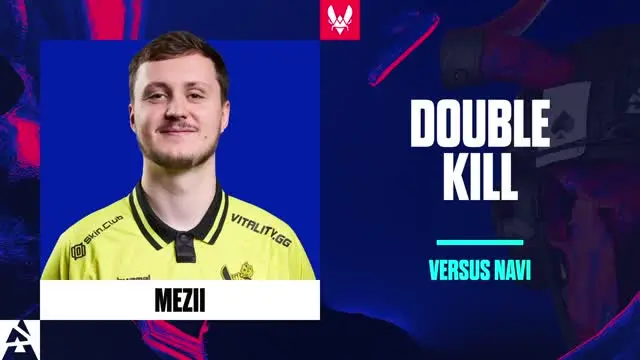
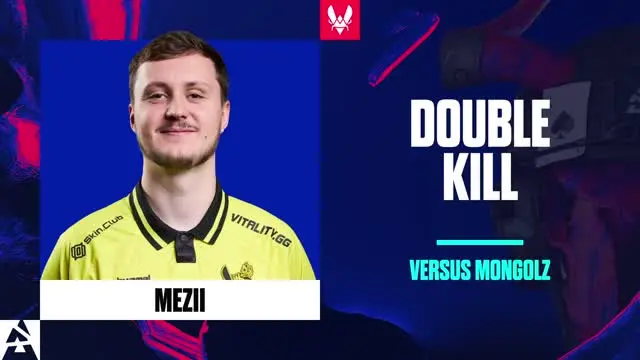
mezii Double Mirage Kill
mezii stays alive on A long enough for the cavalry to arrive and secures a double kill in the pistol round.
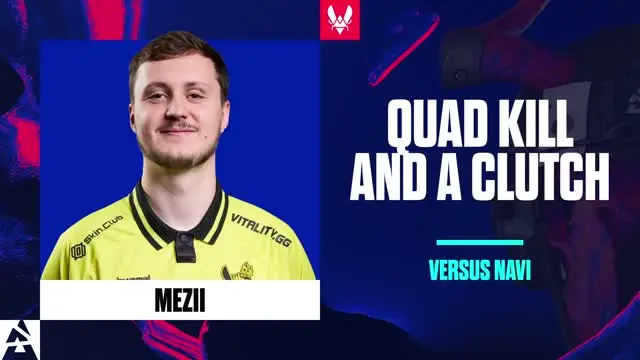
Quad Kill And A Clutch
The eco round from NAVI gets denied by mezii as he wins the one-versus-three clutch and secures a quad kill in the round.
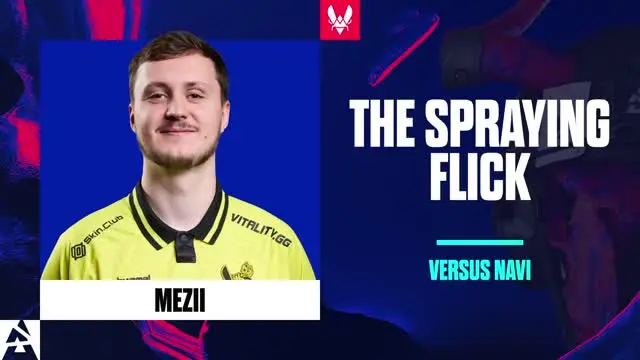
The Spraying Flick
mezii buys time with an entry and an insane spray transfer flick to win the round for Vitality.
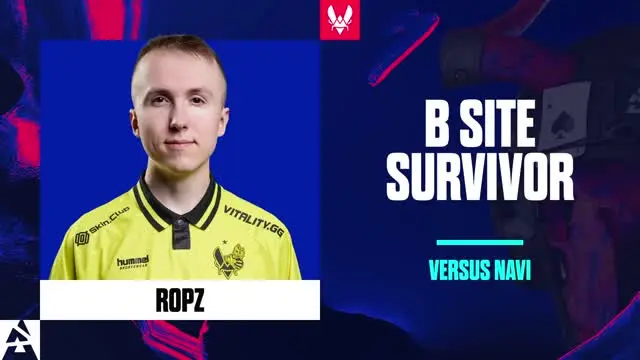
B Site Survivor
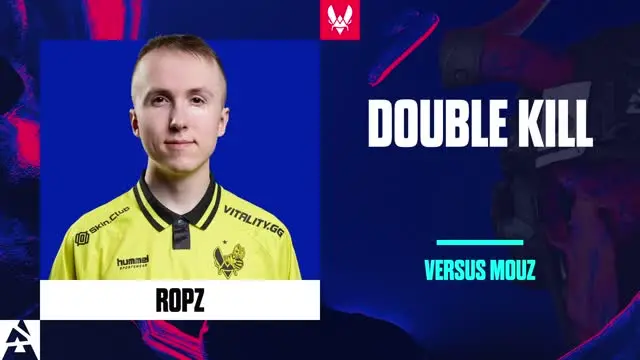
ropz manages to buy time for his team on the B-site while also securing a triple kill on the defense.
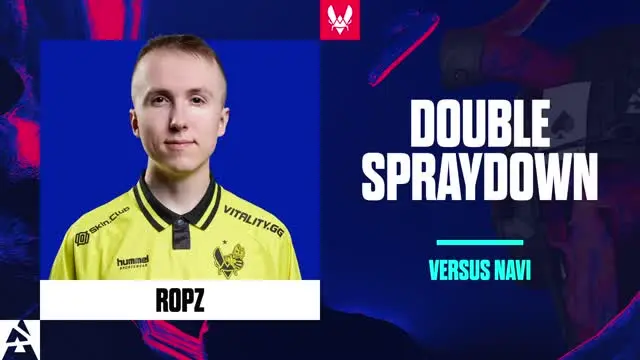
Double Spraydown
ropz holds the Palace push, securing a two-man spraydown.

w0nderful Double Deagle
w0nderful's double kill with his Deagle gives NAVI a chance in the eco round.

w0nderful Teamkiller
w0nderful accidentally kills his teammate jL, allowing ropz to move freely on the B-site, which ultimately costs them the round.

w0nderful: The Clutch God
w0nderful wins the one-versus-one clutch against mezii, netting two kills with the AWP in the round.
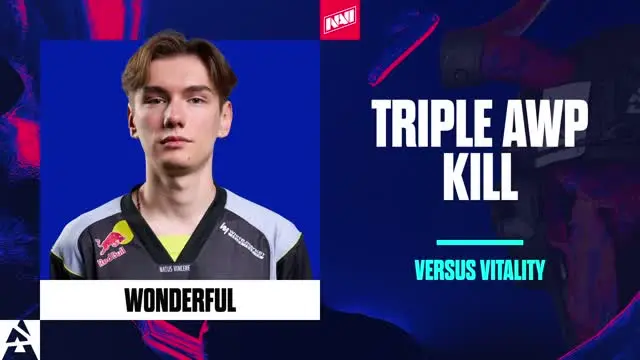
Triple AWP Kill
A failed Connector smoke allows w0nderful to pick up two easy kills with the AWP, earning him a triple kill and the round.

The Gamble
NAVI takes a gamble by giving up the A-site to stack B, aiming to save all their weapons for the next round if the gamble doesn't pay off.
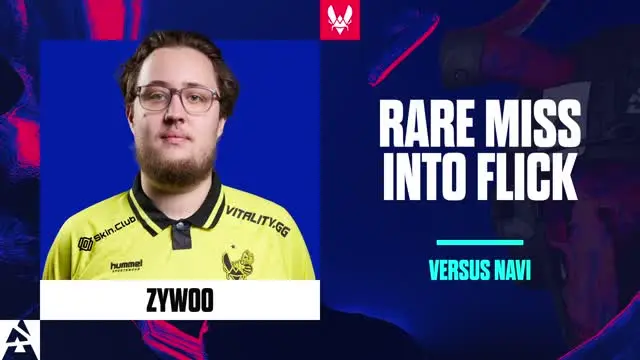
Rare Misses But Manages A Flick
Rare misses from ZywOo's AWP, but he still manages to land a flick while fully flashed.
ZywOo Double Mirage Kill
Two frags by ZywOo from the A-site help Vitality secure the round.
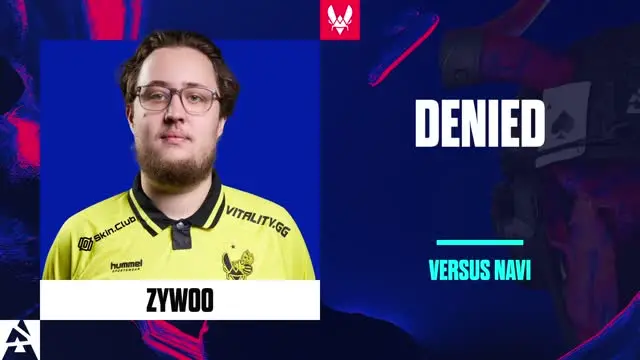
Denied
An entry and a wallbang from ZywOo deny Aleksib the ace clutch.

He Can Rifle Too
Clean AK-47 frags from ZywOo earn him a quad kill and secure the round for Vitality.
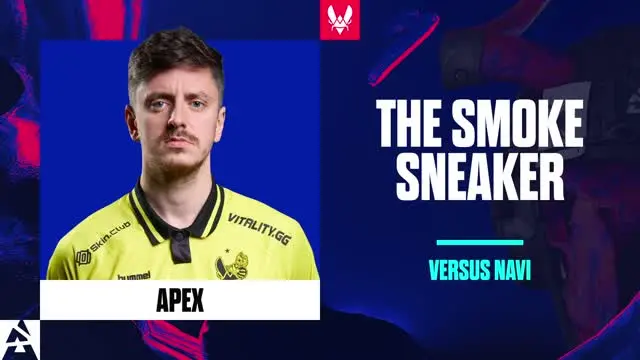
The Smoke Sneaker
Dodging HE clears and sneaking through the smokes, apEX secures a double kill to close out the round for Vitality.
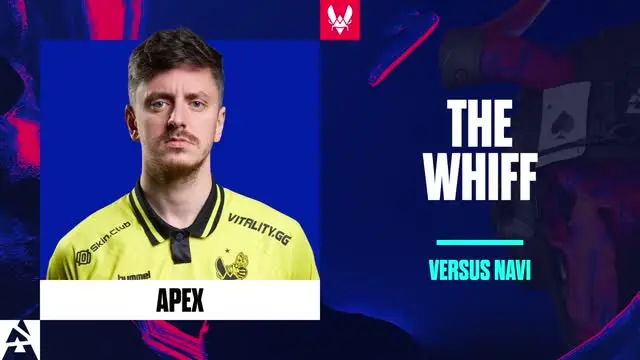
The Whiff
apEX fails to connect most of his shots with the FAMAS, and along with flameZ and ropz, misses key opportunities for frags ultimately costing them the round.
Clutching MP9
apEX comes in clutch in the two-versus-two, picking up both kills with the MP9 to secure the round.
1 Bullet
Only one bullet left in the chamber as apEX forgets to reload a costly mistake, despite landing a kill with that single shot.
Bodyblocking Smokes
NAVI's smoke wall outside falls apart as apEX exposes himself to body-block the smokes.

b1t: The Nuke Cowboy
b1t shuts down Vitality in the two-versus-two, landing a quick double kill with the Dual Berettas.
flameZ Double Nuke Kill
The A-site is locked down as flameZ picks up two frags with the MP9.
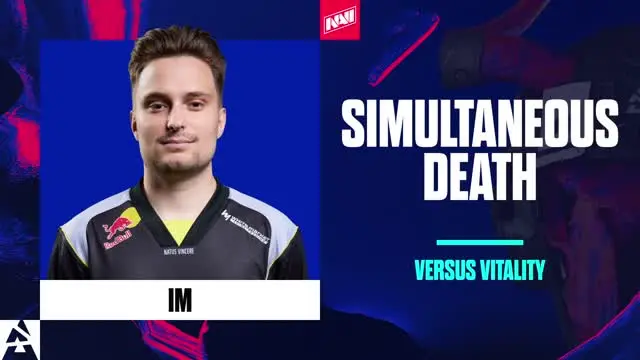
Simultaneous Death
iM gets one shot off just before his death, taking flameZ with him to the grave and opening up the B-site for his teammates.
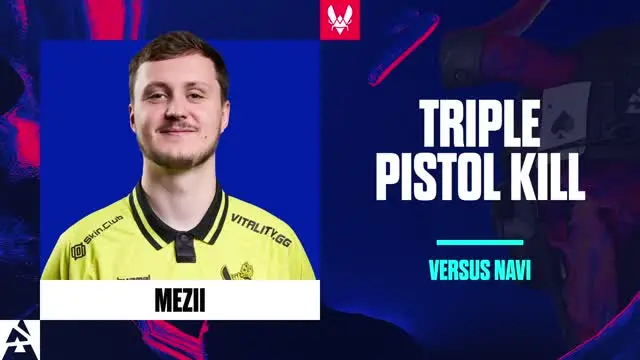
mezii Triple Pistol Kill
mezii keeps the attack alive by securing three kills in the pistol round.
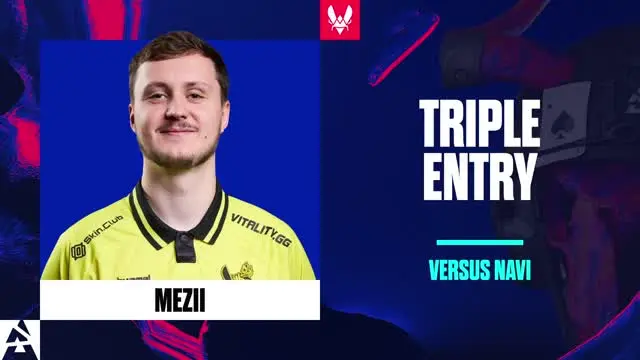
mezii Triple Entry
The A-site is left wide open as mezii picks up three entry frags.
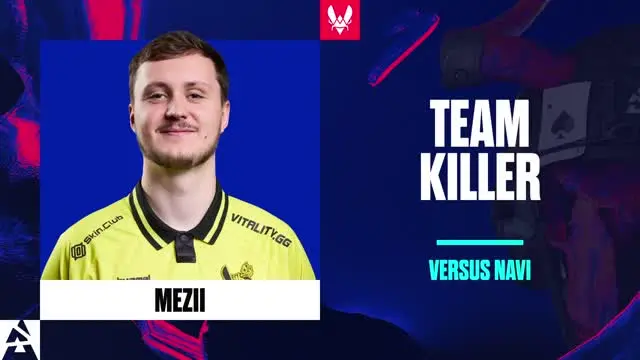
mezii Teamkiller
While shooting at an enemy, mezii accidentally kills his teammate ZywOo.

On The Ladder??
A crazy shot on the ladder from mezii keeps them in the round, but he's denied in the clutch.
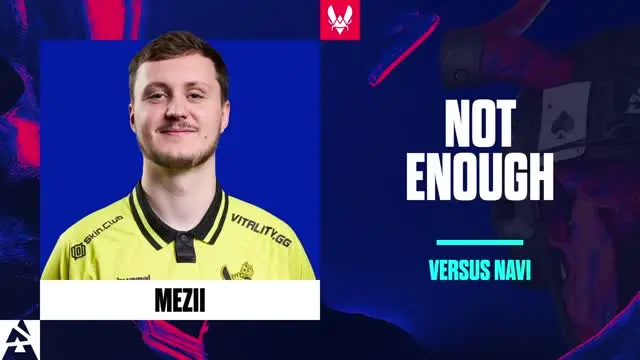
Not Enough
mezii takes two, but it's not enough as Vitality gets overrun by the A-split.
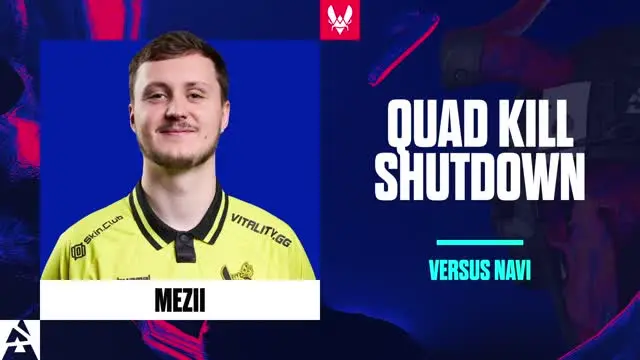
Quad Kill Shutdown
Victory is secured as mezii proves unstoppable with a quad kill on the inside hold for Vitality.

ropz Double Nuke Kill
ropz seals the round by finding two frags on the lower B-site.

w0nderful: The Eco Fragger
The hero AK from ZywOo gets shut down by w0nderful, who picks up a triple kill.
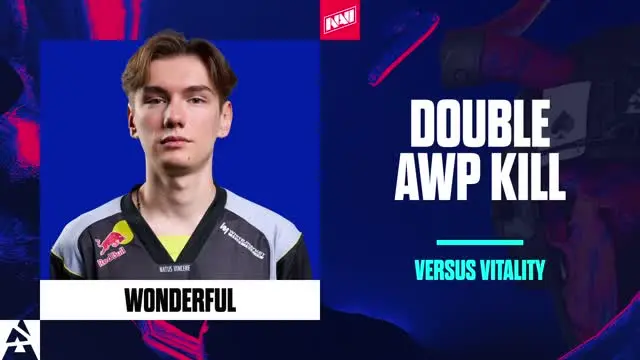
w0nderful Double AWP Kill
Patience from w0nderful nets him a double kill with the AWP and secures the round for NAVI.
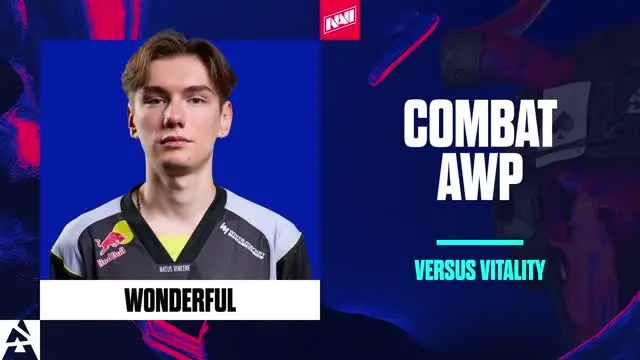
w0nderful Combat AWP
A heroic one-versus-three clutch attempt gets denied, despite w0nderful landing a no-scope flick in the post-plant.

ZywOo Double Nuke Kill
ZywOo picks up the opening frag and the final kill to secure the round for Vitality.
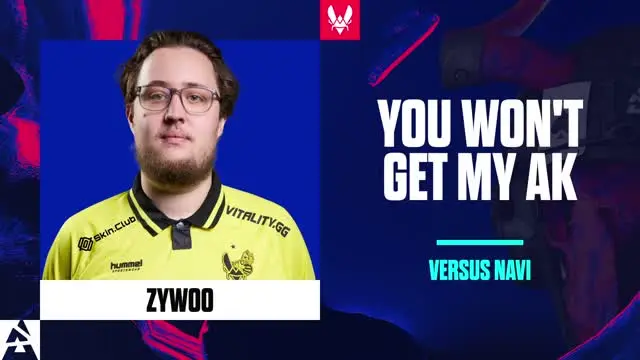
You Won't Get My Ak
Two NAVI players rushing ZywOo get taken down, giving him a double kill.
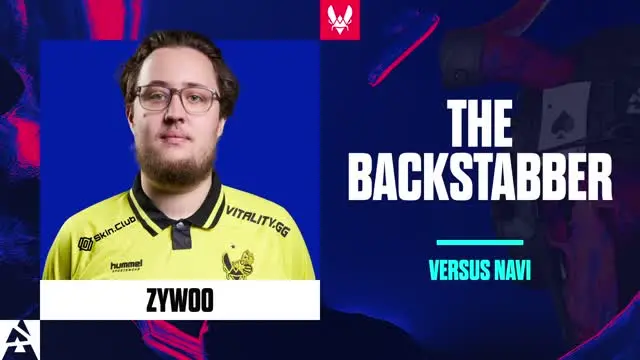
The Backstabber
Failing to clear his angles gives ZywOo the opportunity to knife w0nderful.
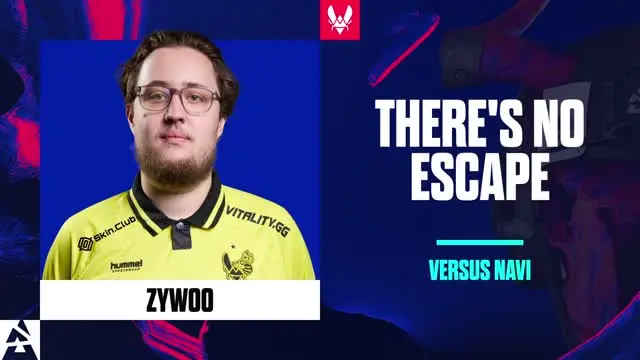
There's No Escape
There's no escape for the last two CTs trying to save, as ZywOo hunts them down to secure the round and a triple kill.

Look 1 Hand
Chilling in T-spawn with his hand off the keyboard gives ZywOo a free frag and a chance at the clutch, but he's denied in the end.
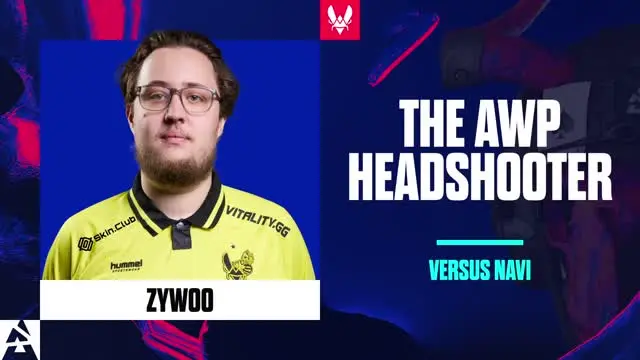
The AWP Headshooter
Winning the AWP duel and trading his teammate earns ZywOo a double kill and gives Vitality a chance in the round.
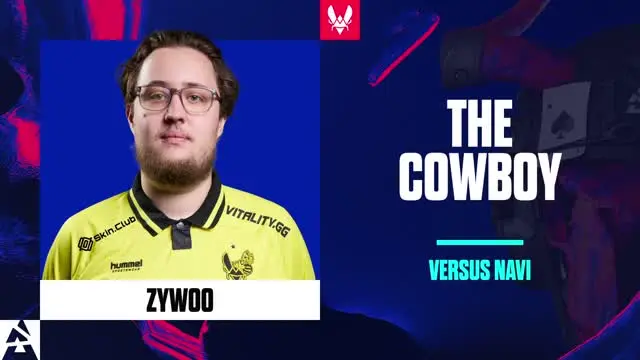
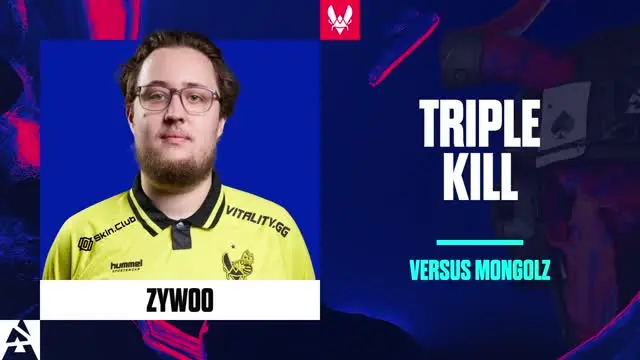
ZywOo: The Cowboy
The retake from Vitality is secured as ZywOo lands two quick headshots with the Dual Berettas.
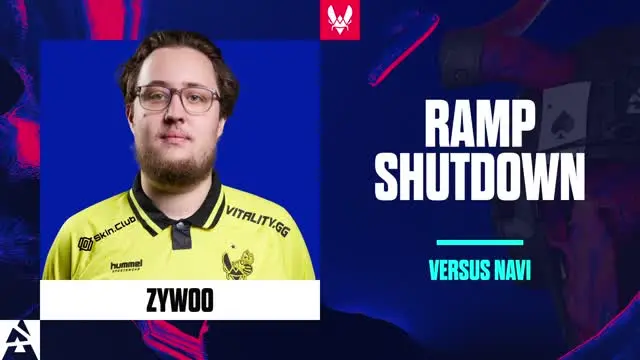
Ramp Shutdown
Ramp is shut down as ZywOo takes down three on the hold.

Deagle Supremacy
910 and The MongolZ win the round with Deagles. 910 gets two kills and deals 93 damage in an assist to secure the win.

2 Pistol Headshots
910 picks up the final two headshots to win the second pistol round for The MongolZ.
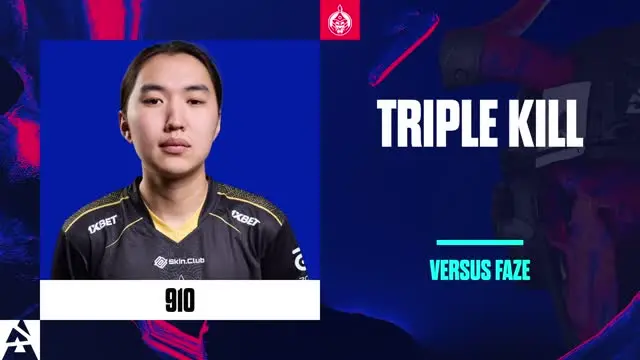
910 Triple Kill vs FaZe
910 rushes mid, picks up two kills and an AWP, then secures a third to dismantle FaZe's default.

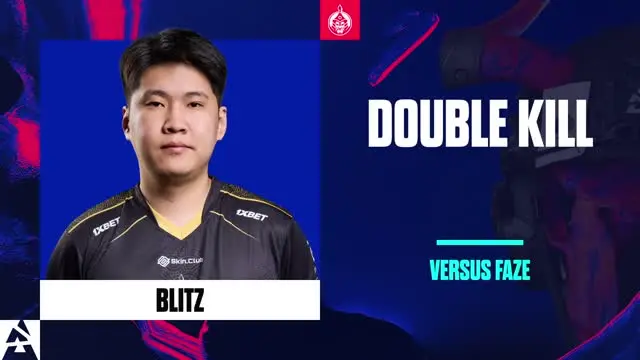
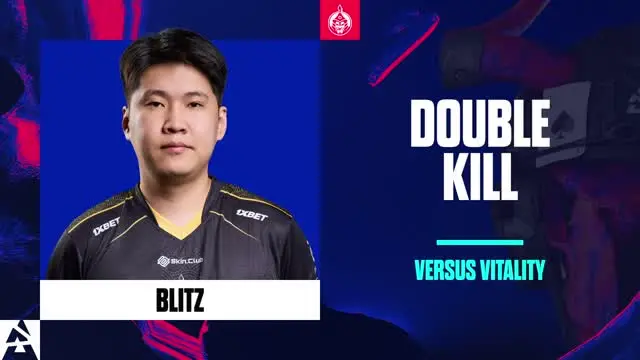
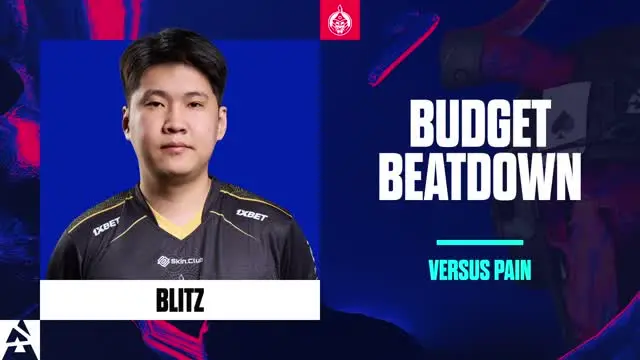
Almost 500 Damage
bLitz kills four and nearly finishes off the fifth.
bLitz Double Smoke Kill
A chaotic smoke makes it difficult for The MongolZ, but bLitz manages to pick up two kills and secure the round.

bLitz Kobe
A well-placed HE finishes off s1mple, netting bLitz a double kill in the round.

Quick Double
bLitz brings the round back for The MongolZ as he grabs a quick double kill in the retake.
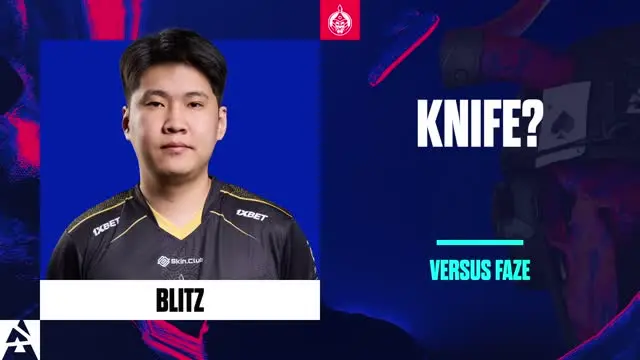
Knife?
bLitz gets overconfident as he tries to knife karrigan for the final kill to win the map.

Catches Smoke
EliGE catches a smoke, pushes through it, and fails to find a target.

The Fast Rotation
A fast rotation to the B-site helps FaZe hold it down, as EliGE picks up a double kill.
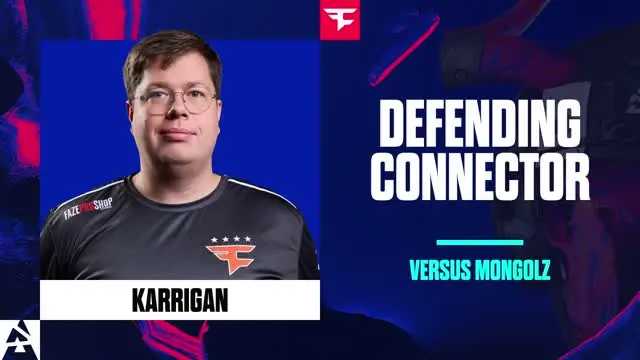
Defending Connector
karrigan gets two kills in Connector on Mirage.

Mid Is Karrigan
karrigan locks down mid for the second round in a row, gets two kills, and hypes up the crowd afterwards.

karrigan Double Headshot
Two headshots from karrigan win FaZe the afterplant.

Smokey Entry
A crucial entry from karrigan, rushing through the smoke, gives FaZe the B bombsite and a chance in the round.

mzinho Double B-Site Entry
A double entry on the B attack gives The MongolZ an open B bombsite.

mzinho Double Mirage Kill
mzinho holds down the A-site, grabbing a fast double kill.

Clean Defense Double
Two quick kills from rain on A keep FaZe in the round.

rain Double Headshot
Two clean headshots from rain secure the round for FaZe, keeping them in the game.

2K Dualies
s1mple kills the first two opponents with the Dualies on the A-site of Mirage.

Awareness
bLitz catches great timing in mid, but s1mple is aware and takes him down with the AWP.

2 Crucial Misses
s1mple misses two potential frags with the AWP during the B attack, giving The MongolZ an open bombsite.

The AWP Triple
s1mple gets a triple kill with the AWP to secure the round for FaZe.

Footshooter
s1mple nearly lands a double kill as he tries to hit 910's feet, but the shot doesn't connect.

The AWP Head To Head
Both AWPers rush toward B looking for an entry, but s1mple comes out on top with a clean kill on 910.

Don't Bring A Knife To A Gunfight
The knife comes out to finish off 910 after s1mple misses two AWP shots.

Senzu Double Entry
Senzu kills two opponents to open up the B-site on Mirage.

Double From The Defender
Two headshots from Senzu stop the B rush from FaZe.

Techno4K Double B-Site Kill
A double kill on the B hold from Techno4K gives The MongolZ a chance in the afterplant.

AWP Defender
Two kills on the A-site defense and an early AWP entry from 910 give The MongolZ a real chance in the afterplant.

AWP Shutdown
Victory for The MongolZ is secured as 910 picks up three AWP kills on the A-site defense.

bLitz Double Headshot
bLitz lands two clean headshots to help The MongolZ secure a flawless anti-eco.

EliGE: The Clutch God
EliGE pulls off a one-versus-two afterplant clutch to secure the round for FaZe.

Parkour Deagle
EliGE lands a crazy parkour Deagle shot and follows up with another kill for a total of two in the round.

Exposed
EliGE has a chance for the quad kill and the clutch, but exposes himself in the one-versus-two and loses the afterplant.

Dancing Legend
EliGE picks up a triple kill and dances around with mzinho to buy time in the afterplant.
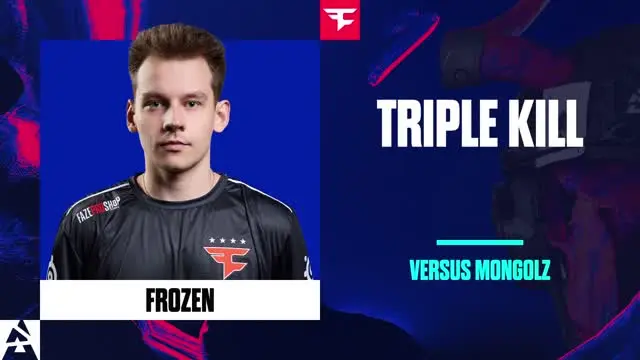
frozen Triple Kill
frozen pulls off a triple kill with the Dual Berettas to clutch the round for FaZe.

frozen Double Headshot
Two AK headshots from frozen secure the round for FaZe in the afterplant.

karrigan Double Kill
karrigan pulls off a double kill while completely blind.
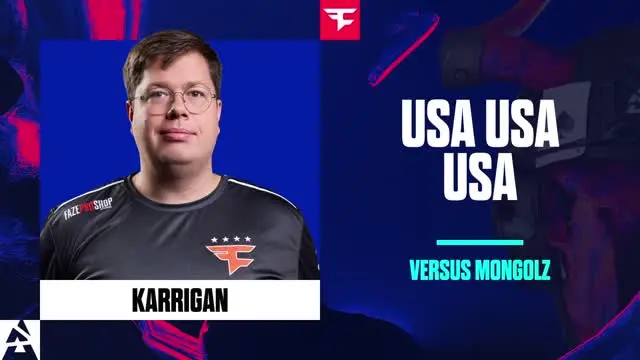
USA USA USA
karrigan screams USA! USA! USA! as EliGE wins the one-versus-two clutch, sending the crowd into a frenzy.

The Running MAC-10
karrigan charges in with the MAC-10, grabs two frags, and seals the round for FaZe.
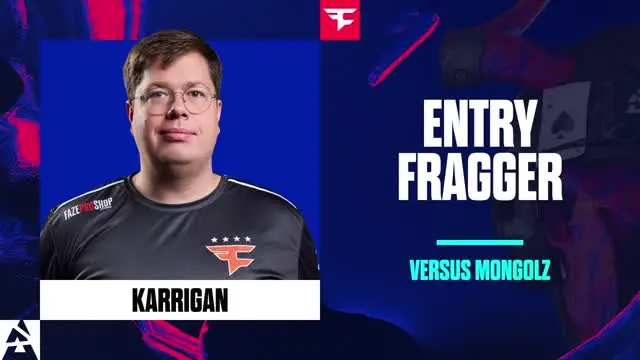
karrigan Entry Fragger
The Tec-9 from karrigan opens up the B bombsite for FaZe.

mzinho Double Anubis Kill
Two kills from mzinho secure the afterplant on A for The MongolZ.

Eco Finisher
mzinho picks up the final two frags of the anti-eco to give The MongolZ a flawless round with all five players alive.
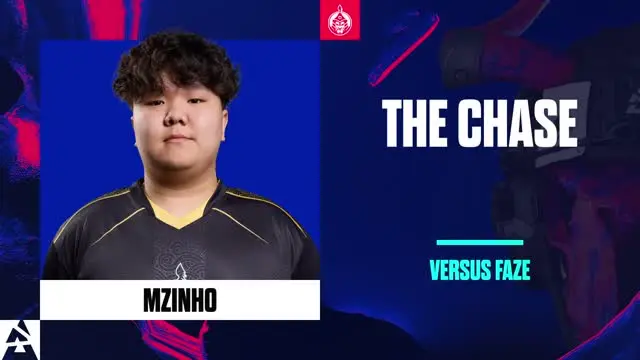
The Chase
The one-versus-two clutch is denied as mzinho attempts to stick the defuse in the one-versus-one.
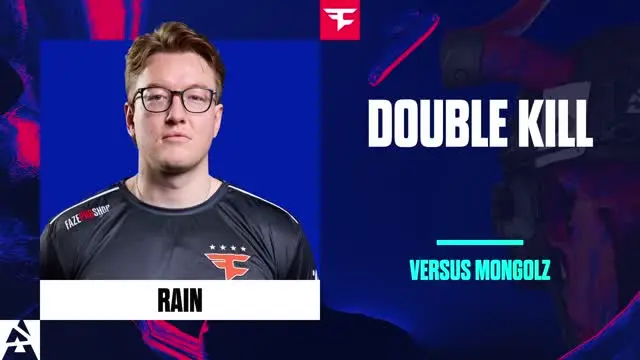
rain Double Kill
rain picks up the final two kills to give FaZe a flawless round with all five players alive.
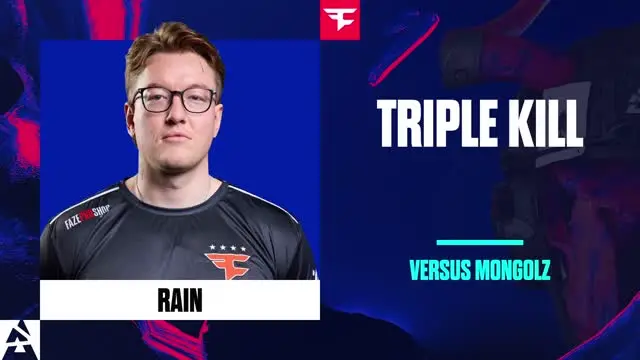
rain Triple Kill
rain secures the two-versus-two clutch with a triple kill in the round.

Scared Of The Shotgun?
A Molotov from The MongolZ nearly forces s1mple out, but they hesitate to challenge his shotgun, allowing him to escape.
s1mple Double AWP Kill
s1mple gives FaZe a lifeline in the round with two AWP kills while defending the B bombsite.

s1mple Combat AWP
s1mple is caught off guard by the B pop, but still manages to find a kill while combat AWPing.

Clutch Double Kill
Senzu finds two kills and wins the one-versus-one clutch to secure the round for The MongolZ.

Senzu Triple Pistol Kill
Three kills for Senzu as he shuts down the B-site attack with his USP.

Swift Double Kill
Two swift kills from Senzu on the A-site defense give The MongolZ a real chance in the round.

Techno4K Triple Kill
Techno4K secures the round with a triple kill.

Time Loss
Time runs out for Techno4K as he fakes the plant three times looking for picks, but FaZe gives him no fights and the round slips away.

Techno4K Fortress
Techno4K secures the round for The MongolZ with a triple kill.

910 Double Deagle
Two Deagle headshots from 910 give The MongolZ a real chance in the anti-eco.

One Kill Is Enough
A single kill from 910's MAC-10 is enough to force the save from paiN and secure the round.

910 Double AWP Kill
Two AWP kills from 910 open up mid for The MongolZ.
The Switcheroo
With plenty of money in the final round of the half, bLitz buys an AWP for an early A peek, leaving his AK in spawn to swap back to afterward.

bLitz Triple Kill vs paiN
bLitz locks down the B-site with a triple kill.

Quick Double HS
A swift double headshot from bLitz clears out mid.

dav1deus Double Mirage Kill
dav1deuS picks up a double kill in the anti-eco to secure the round for paiN.

dav1deuS Almost Clutch
dav1deuS is nearly the hero for paiN, but falls short in the final duel of the one-versus-two clutch, finishing the round with a triple kill.

Missed A Spot
dav1deuS and nqz fail to communicate who's watching the short gap, allowing mzinho to slip through and take down nqz from behind.
dav1deuS Clutch Denied
dav1deuS has a chance to bring the round back with a double kill, but gets denied before he can finish the clutch.
dgt Triple Kill
The A-site is locked down by dgt with a triple kill, despite a convincing B fake from The MongolZ.
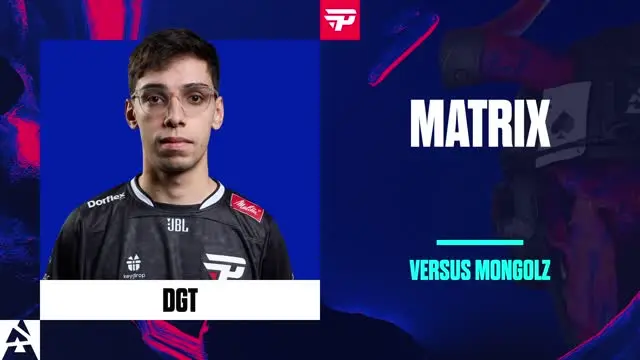
Matrix
dgt does well to dodge the HE clear, but loses track of the A Palace lurk, leaving the A-site exposed.

Swift Double
Two swift headshots from mzinho give The MongolZ a chance in the two-versus-five.
mzinho Triple Kill
mzinho charges through A Palace to pick up a triple kill.

mzinho Double A-Site Entry
A double entry from mzinho cracks open the A-site for The MongolZ.

Flying Mongolian
The plant is denied twice as mzinho flies through the stairs smoke with his MP9.

No Money For You
mzinho grabs two kills after time, denying both paiN players any income for the next round.
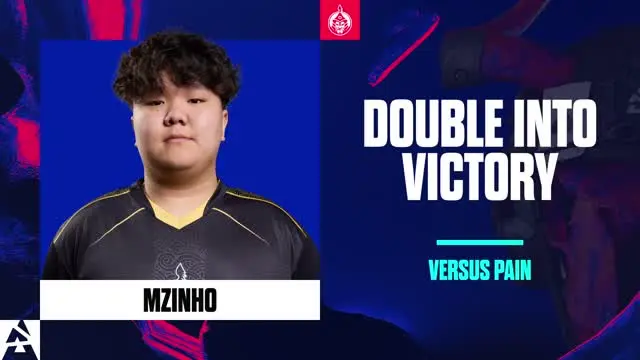
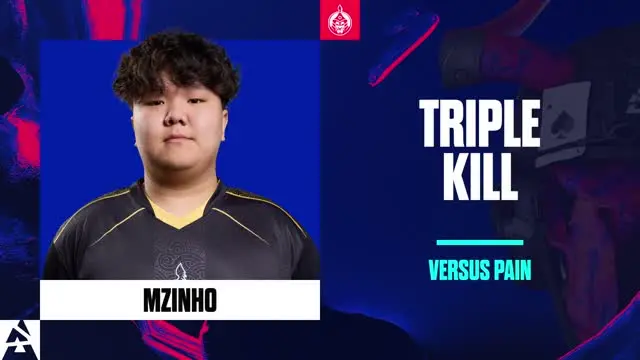
Double Into Victory
A double kill from mzinho secures the map win for The MongolZ.

nqz Triple Kill
nqz steps up with a triple kill to lock down the round for paiN.

nqz AWP Rampage
The B-site is locked down as nqz goes on a rampage with the AWP, pulling off a triple kill.

AWP Slayer
Senzu times the perfect peek to take down the AWP and finishes the play with a double kill.

Instant Headshot
An instant headshot from Senzu as the smoke is cleared by an HE grenade.

Senzu Double Headshot
Two swift headshots from Senzu on the B-site attack set The MongolZ up for the round.

Triple Berettas
A triple kill with the Dual Berettas from snow secures the first pistol round for paiN.

Huggers
snow gets stuck in the smoke, accidentally hugging bLitz for a few seconds before realizing but his Glock isn't enough to finish the job.
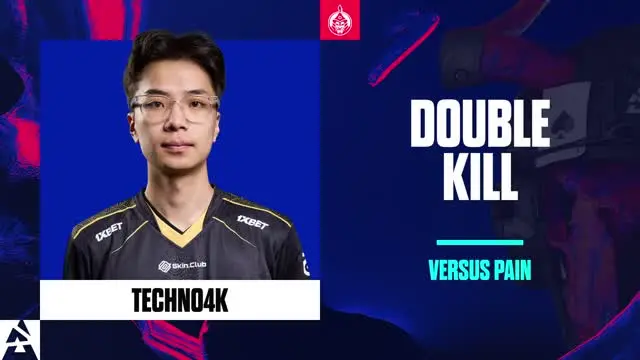
Techno4K Double A-Site Kill
Techno4k grabs a double kill as The MongolZ hit the A-site in perfect sync.
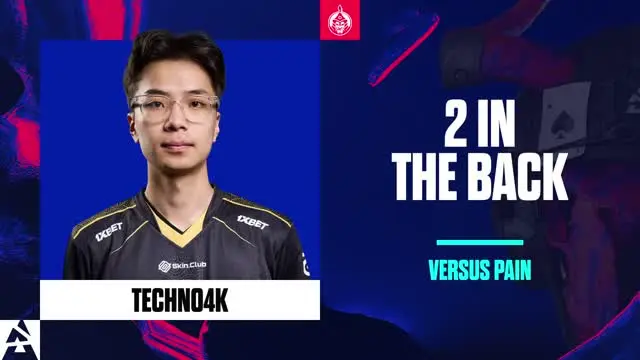
2 In The Back
Techno4k capitalizes on two unaware paiN players, securing the round for The MongolZ with a pair of clean frags.

Techno4k: The Cowboy vs paiN
A double kill from Techno4k's Dual Berettas secures the second pistol round for The MongolZ.

Cleaning Up
apEX shoots two players and gets a double kill against Glocks.
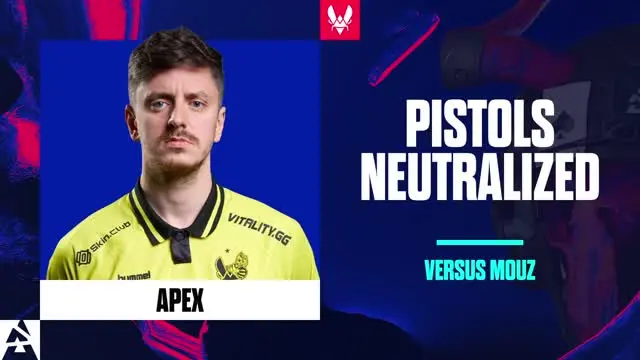
Pistols Neutralized
apEX takes down two MOUZ players wielding pistols during their attempt to take the A-site.

Off Target
apEX is crouched holding his AK-47 steady, but his shots miss the opponent.

Versatile Shooter
apEX uses both pistol and Galil to shoot three MOUZ players, helping Vitality win the round.

Brollan Closer
Brollan takes down two Vitality players with his rifle and wins the round for his team.

Brollan Double Deagle
Brollan gets two kills with his Deagle as the opponent tries to take the A-site.
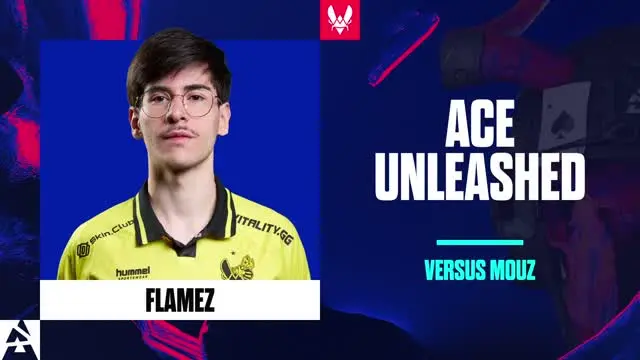
Ace Unleashed
flameZ goes absolutely wild and manages to get an ace against MOUZ.
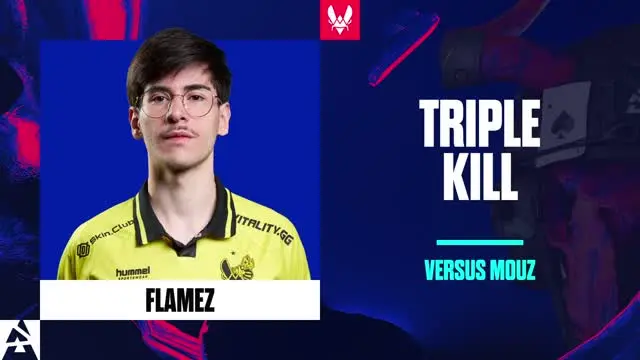
flameZ Triple Kill vs MOUZ
flameZ manages to take down three MOUZ players with his rifle on the A-site.
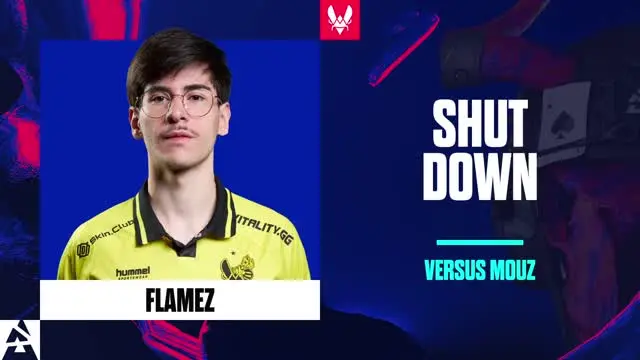
Shut Down
flameZ completely destroys MOUZ by shooting three of their players with his rifle.
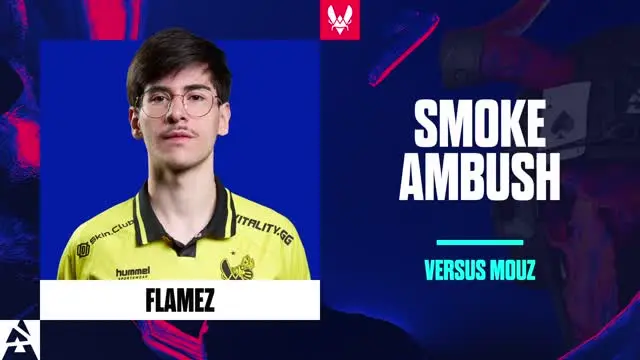
Smoke Ambush
flameZ gets a kill by cleverly hiding in the smoke, helping his team win the round.
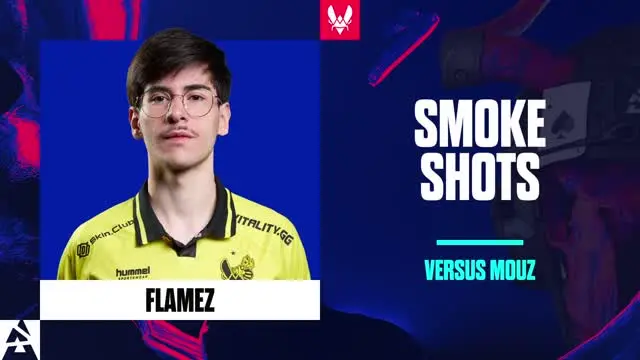
Smoke Shots
flameZ gets two absolutely insane kills with his AK-47 through the smokes.

Surprise Grenade
Jimpphat does not see his opponent at all but still dies to an HE grenade.

Jimpphat Clean Sweep
Jimpphat takes down three Vitality players with his MP9, helping his team win the round.
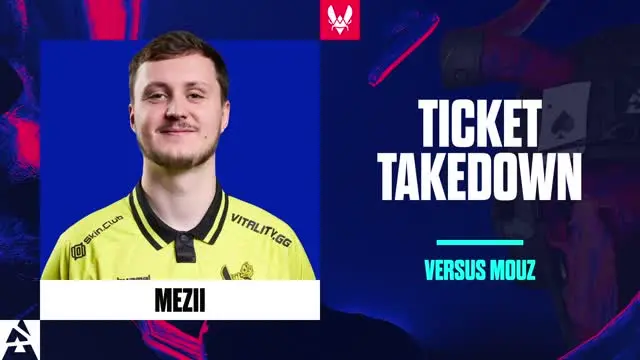
Ticket Takedown
mezii pulls off a brutal Deagle headshot through ticket.
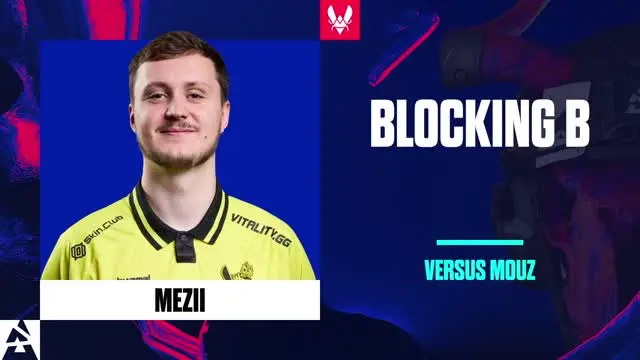
Blocking B
mezii shuts down the B bombsite with two rifle kills, securing the round for Vitality.
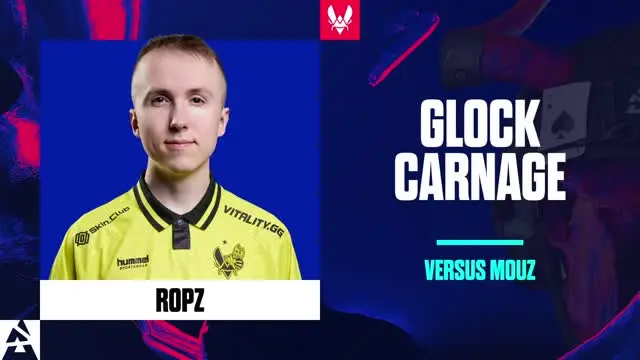
Glock Carnage
ropz secures a double kill on Glocks using his rifle.

Massacre
ropz shoots four Vitality players as they try to rush the B-site.

Cover Fire
ropz gets two kills because he holds a good angle and stays hidden.

Precision
ropz lands two fantastic shots with his Scout, taking down two Vitality players.

Spinx Double Mirage Kill
Spinx gets two kills on the A-site, helping MOUZ win the round.

Pistol Hero
torzsi manages to get three kills with his Glock in the pistol round.

Tunnel Vision
torzsi is zoomed in with his AWP and fails to see an opponent sneaking beside him who then shoots him.

xertioN Double Kill
xertioN lands two kills with his Glock in the pistol round, giving his team an early advantage.

Deadly Deagle
xertioN lands an impressive and deadly shot with his Deagle, hitting the opponent right in the head.

Galil Power
xertioN shoots two with his Galil and shuts down the opponents on the A-site.

Locked Out
xertioN does not give the opponent any chance to enter the B bombsite.

Focused But Fallen
ZywOo is so focused on his AWP scope that he does not notice Brollan shooting him.
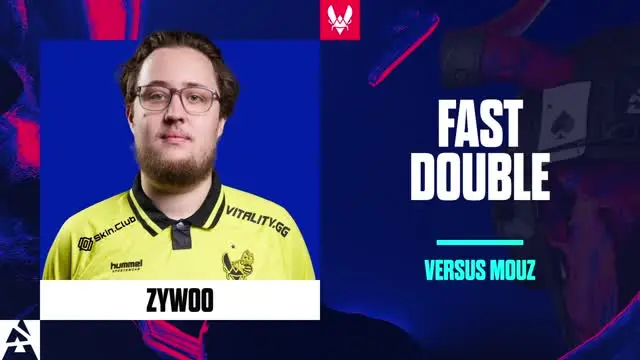
Fast Double
ZywOo quickly gets two kills with his rifle as he takes the B bombsite.
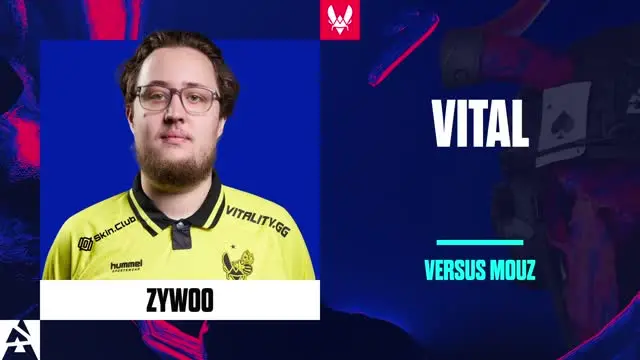
Vital
ZywOo shines as he gets three fantastic kills on the opponents, securing the map for Vitality.
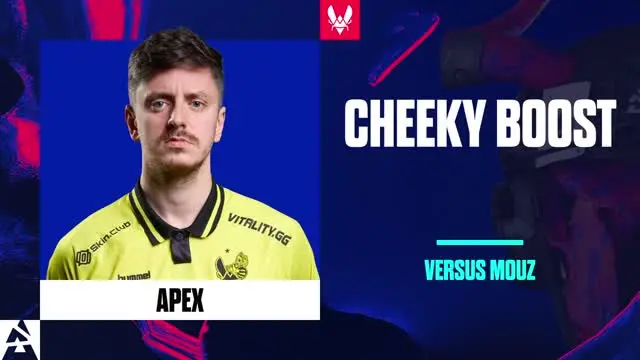
Cheeky Boost
A creative boost by apEX and ropz allows the entry for apEX, but he gets traded.
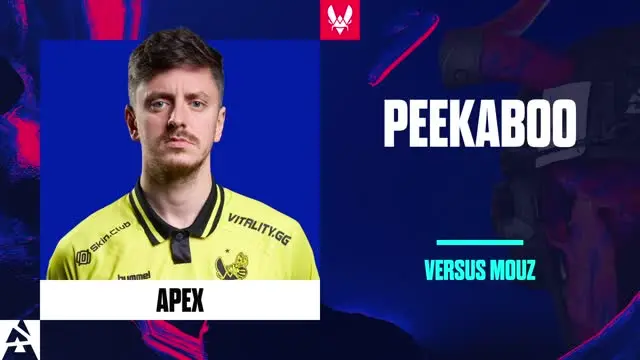
Peekaboo
apEX pulls off a peekaboo play on the ladder to check for players in Upper B.
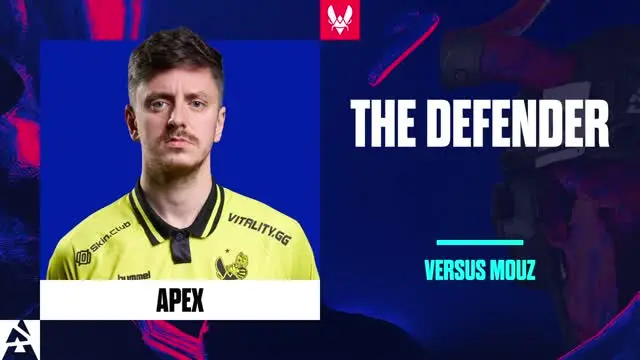
The Defender
The B-site is locked down for Vitality as apEX lands two swift headshots.

Surprise Play
apEX makes the perfect play to set himself up for the double kill and win the round.
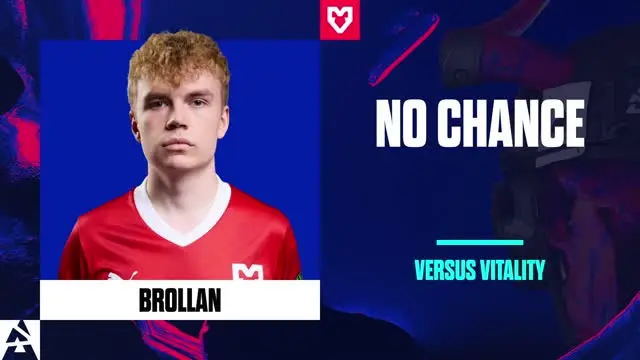
No Chance
A creative wallbang from ZywOo and an HE from flameZ absolutely destroy Brollan before he can see a single enemy.
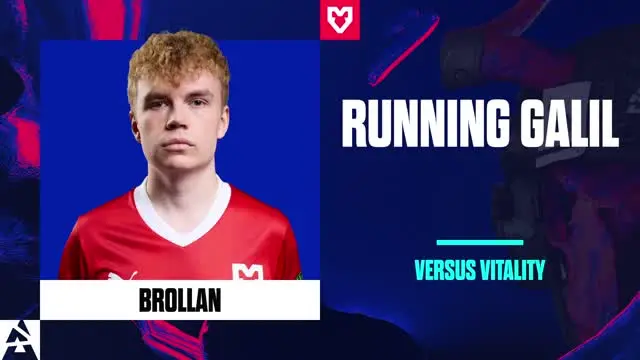
Running Galil
Brollan charges through the smokes outside, strafing while shooting to secure the trade and another kill in the round.
flameZ Double Train Kill
flameZ does his job, securing a double kill on the A hold.

One Tap
flameZ is on point as he instantly headshots torzsi outside to secure a double kill in the round.

Just Peek Me
Vitality gives nothing to Jimpphat in the one-versus-two clutch, which ends up costing him his life after time, leaving him with no money for the next round.

Forgot About Me?
Jimpphat is a thorn in Vitality's side as he hides in Upper, delays the bomb plant, and stays alive for a double kill.
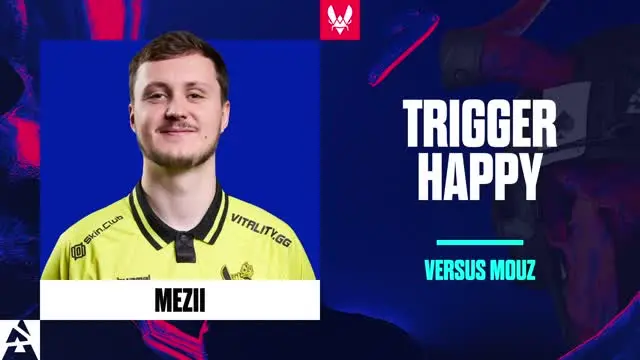
Trigger Happy
mezii fires too early, giving Spinx enough time to turn and instantly trade him on the flank.
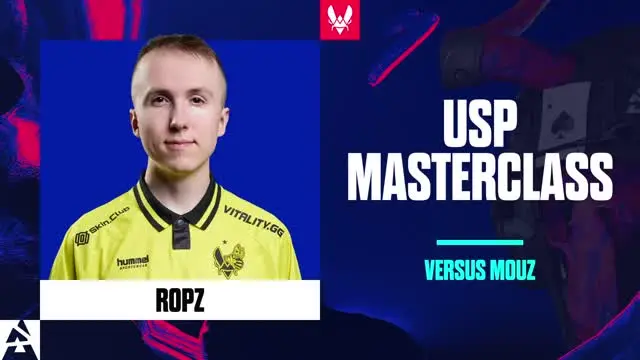
USP Masterclass
The awareness from ropz destroys Spinx's winning lurk and grants him a clean double kill.
ropz Double Train Kill
Lower B is shut down by ropz as he picks up two frags in the anti-eco.
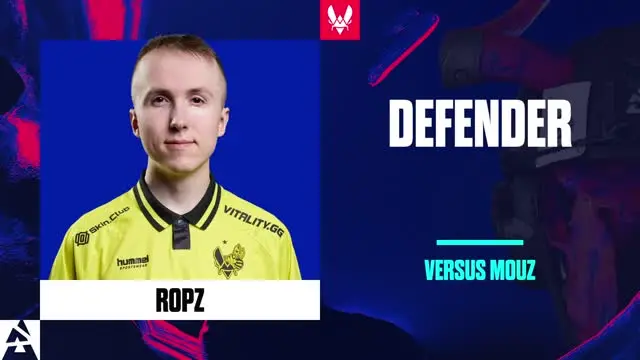
Defender
ropz is good for a double kill on B, giving Vitality an easy retake.
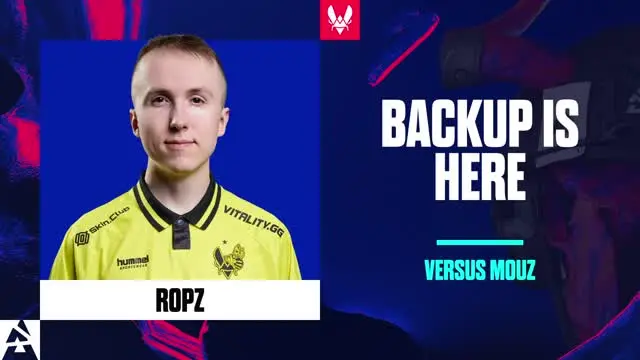
Backup Is Here
A fast rotation from ropz nets him a double kill on MOUZ's outside attack.
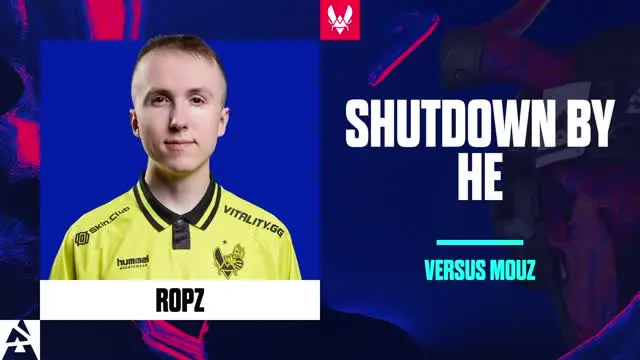
Shutdown By HE
The one-tap machine ropz gets stopped as Spinx lands a Kobe HE to finish him off.
Opener
ropz gets two frags to secure the victory for Vitality.
Failed Lurk
Spinx's lurk gets him into a very good position, but he doesn't manage to capitalize on it.

Spinx Train Triple Kill
A triple kill from Spinx secures the round for MOUZ.
Train Double Dink
Two swift headshots from Spinx shut down Vitality's outside hold.

torzsi Clutch Denied
torzsi gets a kill and the space to have a chance in the one-versus-two clutch, but he's denied by ZywOo.

xertioN: The Cowboy
The Dual Berettas from xertioN are on fire as he secures a triple kill, locking down the second pistol round for MOUZ.

xertioN: The Train Eco Fragger
xertioN grabs a double kill, shutting down Vitality in the anti-eco.
ZywOo Double Kill
ZywOo cleans up two frags during the B attack in the anti-eco.
The AWP Double
The round is secured for Vitality as ZywOo denies the clutch and closes it out with a double AWP kill.

ZywOo AWP Rampage
A is on lockdown as ZywOo goes on a rampage with the AWP, picking up a triple kill and securing the round.
The Dominator
MOUZ is getting dominated by ZywOo as he picks up a triple kill and takes down Jimpphat after time, leaving him with no money for the next round.

ZywOo Double Headshot
The Ivy retake from MOUZ gets destroyed as ZywOo lands two swift headshots with the AK.
Strikes Back
apEX strikes back at the Austin crowd, responding to their hostile chants with a defiant gesture as he takes the stage.

910 Clutch Denied
910 manages to get the bomb down in the one-versus-two clutch but gets denied by ropz's Dual Berettas.
910 Triple Kill vs Vitality
The A execute from Vitality gets destroyed by 910 as he finds a triple kill with a spray transfer.

910 Double Kill
910 finds an early entry toward B and manages to rotate to A in time to secure another kill.
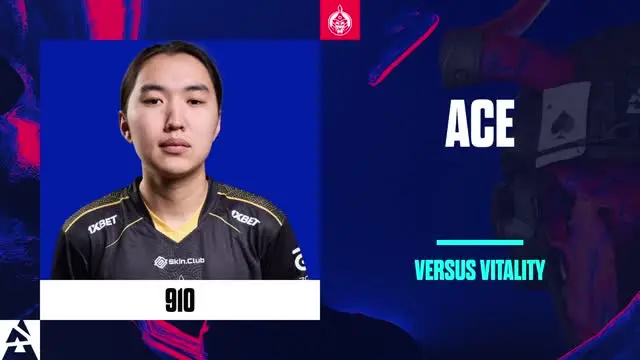
910 Ace
The A attack from Vitality gets absolutely destroyed as 910 shuts it down by himself, securing the ace.

apEX Triple Kill
A triple kill from apEX secures the round for Vitality.
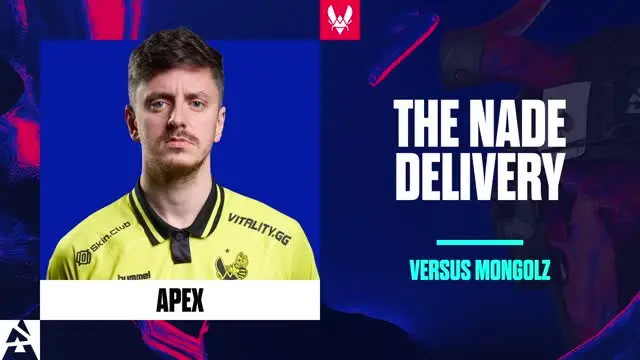
The Nade Delivery
apEX receives an HE delivery from ropz to secure an easy double kill in the anti-eco.

Unlucky
apEX throws a good flash to peek from top Connector, but 910 kills him while fully blind.
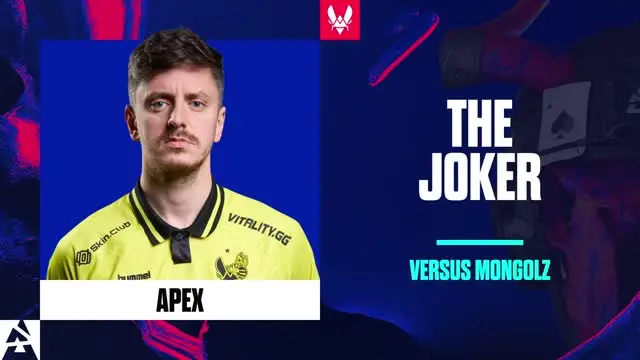
apEX: The Joker
apEX delays the bomb plant and nearly lines up a multi-frag, but gets instantly traded.

bLitz Triple Kill vs Vitality
A triple kill from bLitz secures the afterplant for The MongolZ.

bLitz Almost The Hero
The one-versus-two clutch from bLitz gets denied by mezii.
bLitz Double Connector Kill
A swift double kill from bLitz breaks Vitality's defense on A.

flameZ Clutch Denied
The clutch is denied for flameZ as he secures a double kill but is traded in the end.
flameZ Triple Kill vs MongolZ
A triple kill from flameZ helps secure the round for Vitality.
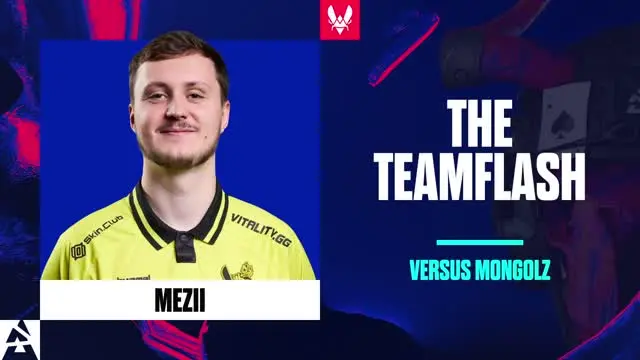
The Teamflash
mezii gets team-flashed as the sole B defender, which leads to his death and opens up the site for The MongolZ.
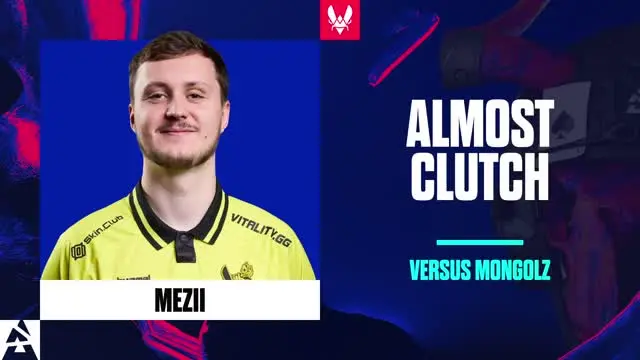
mezii Almost Clutch
mezii finds himself in back-to-back clutches but gets denied by Techno4K to lose this one.
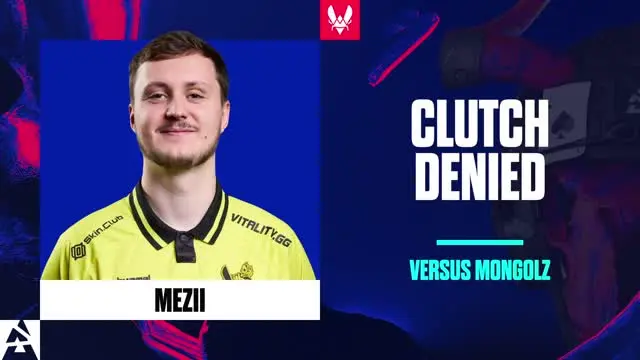
mezii Clutch Denied
mezii loses the one-versus-one duel against Techno4K in the afterplant.

The Suspect
A flick and two bullets from the Tec-9 net mzinho a clean wallbang kill from Palace.

ropz: The Cowboy
ropz denies the clutch from 910 and picks up a double kill with his Dual Berettas.

Senzu: The Eco Fragger - Top Mid
Senzu picks up a triple kill in the anti-eco to secure the round for The MongolZ.

Senzu: The Eco Fragger - Cat
Three frags for Senzu against the pistols from Vitality.

Techno4K: The Clutch God
Techno4K pulls off the one-versus-two clutch to secure a triple kill and the round for The MongolZ.

The Clutch Demon
Techno4K wins the one-versus-two clutch, instantly headshotting mezii as the last CT to close out the half for The MongolZ.

Techno4K: The Cowboy vs Vitality
The Dual Berettas from Techno4K find the last two frags in the afterplant to secure the round for The MongolZ.

Techno4K Closer
Techno4K grabs the last two kills to secure the map win for The MongolZ.
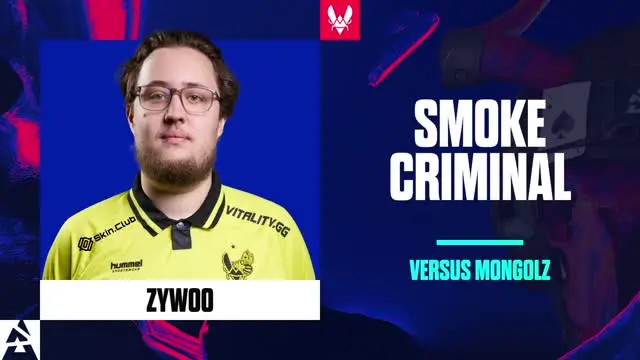
ZywOo Smoke Criminal
ZywOo shoots holes in the top of the smoke to gain vision and grab a sneaky trade kill in middle.

Smoke Speaker
ZywOo finds a gap above the window smoke to grab a free entry kill.

Smoke Breaker
ZywOo breaks the top Connector smoke to try and catch The MongolZ players off guard, but gets denied.
apEX Double Kill
Two USP headshots from apEX finish the round for Vitality.

Kobes
Multiple HE grenades are dropped onto apEX as he racks up utility damage on the short hit from The MongolZ.

apEX: Help Is Here
apEX helps hold the B-site with two kills, securing the round for Vitality.
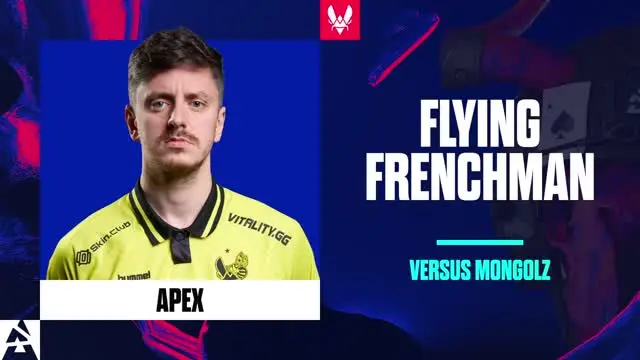
Flying Frenchman
Flying through the window, apEX picks up the kill on the last B defender to secure the site for Vitality.

bLitz Double Dust II Kill
The lurk from bLitz nets him a double kill, slowing down the rotations to the B-site and securing the afterplant for The MongolZ.
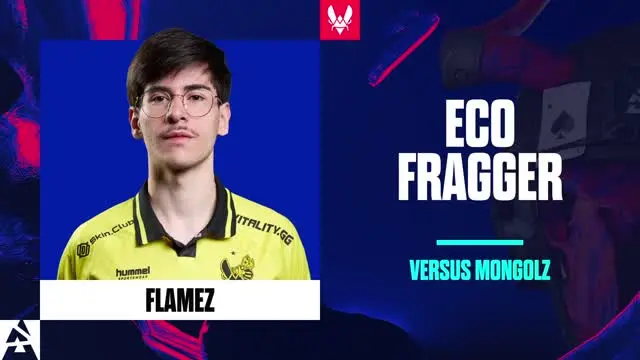
Eco Fragger
flameZ picks up a double kill with the MP9 in the anti-eco.

flameZ Double Dust II Kill
flameZ stops the short push with a double kill from the MP9.

Dust II Retake King
flameZ secures the final two frags on the B retake to close out the round for Vitality.
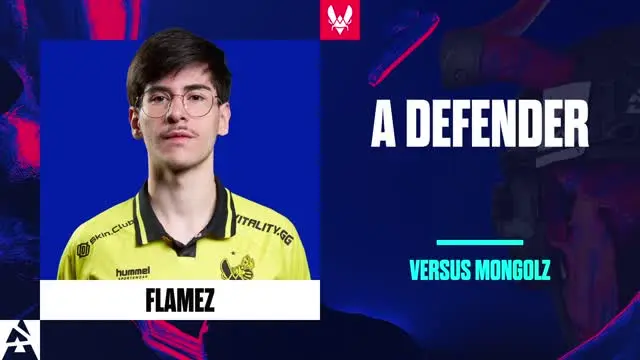
A Defender
flameZ handles the two players from the short hit, putting Vitality in a three-versus-one.

No Time
flameZ nearly lands the spray transfer to secure a triple kill and the round, but Techno4K escapes and wins it as time runs out.
mezii Double Dust II Kill
The rotate from mezii cleans up the last two frags to secure the round for Vitality.

Surprise Entry
A well-timed smoke break from apEX nets mezii a free entry, ending with a double kill for the round.
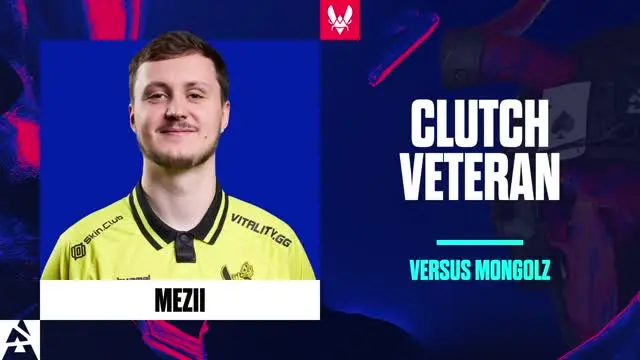
Clutch Veteran
mezii wins the one-versus-one against Senzu and picks up a double kill for the round.

Closing Kills
Vitality secure the win on Dust2, with mezii picking up the entry and the final frag of the round.
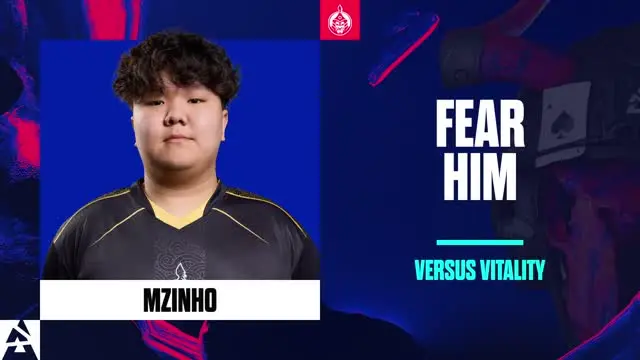
Fear Him
mzinho almost pulls off the one-versus-three clutch, but he misses the final AWP shot.

180 One Tap
mzinho spins 180 degrees to one-tap apEX with his Deagle at long range.

The Dual Double
ropz picks up two kills with the Dual Berettas in Lower Tunnels.
ropz Spray And Pray
The late B hit is shut down as ropz picks up two kills.
ropz Quad Kill
B-site is completely locked down as ropz takes a quad kill on the B hit.

ropz Clutch Denied
ropz can't get past Techno4K's AWP in the one-versus-one clutch.
Senzu: The Clutch God
Senzu pulls off an insane quad kill, winning the one-versus-three afterplant to put The MongolZ back in the game.
Senzu Clutch Denied
Despite already having two kills, Senzu is bested by mezii in the one-versus-one.

Techno4K Almost The Hero
Techno4K opens up the B-site with two kills but whiffs his spray on ZywOo in the back, giving Vitality a chance at the retake.

Triple Kill Clutch
Techno4K picks up a triple kill and the round as he wins the one-versus-one against ropz.

ZywOo: The Eco Fragger
ZywOo picks up a double kill in the anti-eco.
ZywOo Triple Kill
The Deagle from ZywOo is on point as he grabs a triple kill in the round, giving Vitality a chance in the force-buy.

Open And Close
910 opens and closes the round with two crucial kills for The MongolZ.

Jump Spot Dodge
910 misses his shot with the AWP while a CT is jump-spotting.

Kill Trio Delivered
910 secures three rifle kills, aiding The MongolZ in winning the round.

Triple Kill Closer
910 manages to shoot three paiN players and secures the map win for The MongolZ.

I Believe I Can Fly
biguzera tries to attack The MongolZ by jumping straight down onto them, but it fails.

Eco Tastes Good
bLitz gets three kills with the AK-47 and locks down the CT push.
Struggling Against Glocks
bLitz only gets one kill against unarmored Glocks, unfortunately for him.

Right Behind You
dav1deuS gets a kill while looking at his victim turning around, then picks up his AWP.

USP King
dgt kills two opponents on Anubis with a USP, helping secure the round.

One With The MP9
dgt only gets one with the MP9 against a force buy, which puts The MongolZ in a good position to win the round.
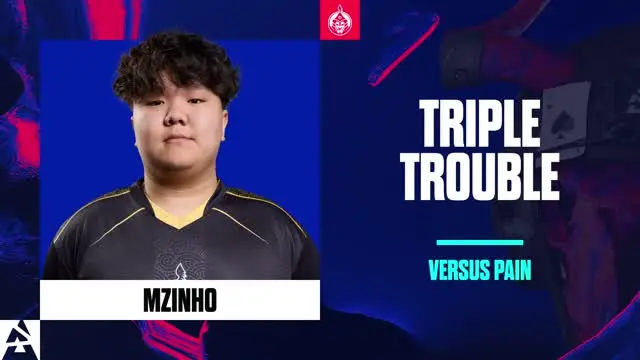
Triple Trouble
mzinho gets a fantastic triple kill to help lock down the first round for The MongolZ on Anubis.

Pre Aim
mzinho does a slick strafe and pre-aims the CT to lock down the round.

Eyes Open
mzinho dodges the flashbang and gets the kill.

Double Glock Down
mzinho takes down two paiN players armed with Glocks using his rifle.

Missed shot and missed chance
nqz misses a shot with his AWP, and his team ends up losing the round.
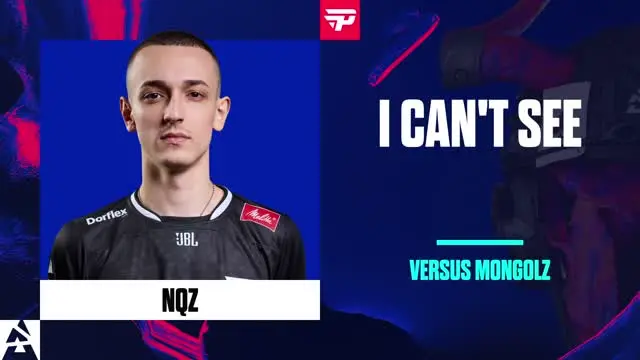
I Can't See
nqz is fully blinded by the flashes from The MongolZ, making it impossible for him to get a kill.

You Can't Hide
Senzu gets a kill through the smoke, helping secure the B-site and win the round.

Clutch or Nothing
Senzu clutches a one-versus-two afterplant to secure the round.

Senzu Double Deagle
Senzu scores two kills with his Deagle, putting paiN under pressure.

Clutch and Defuse
Senzu pulls off a crazy one-versus-two clutch and sneaks a clever bomb defuse.
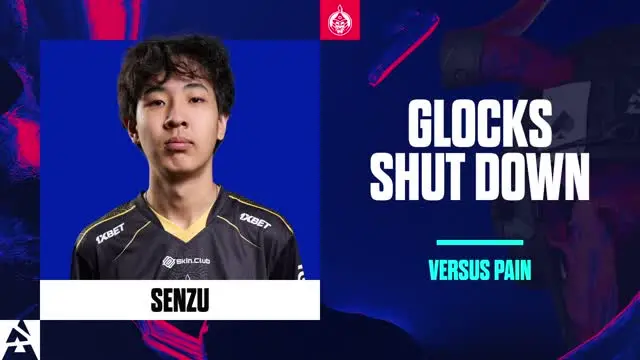
Glocks Taken Down
Senzu takes down two players armed with Glocks using his AK-47.
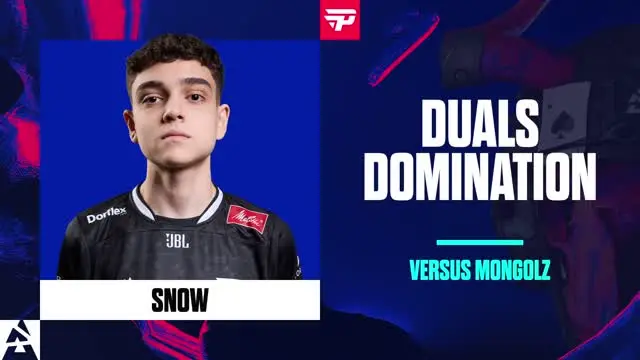
Double Duals Dominate
snow takes down two players from The MongolZ with his Dual Berettas and wins the round.

Nice Try
snow attempts a sneaky play, but The MongolZ shoot him down.

Glock Double Down
snow finds two Glock kills on A, securing the pistol round for paiN.

Techno4k Triple Terror
Techno4K shows the way for his team, as he dismantles the B-site defense on paiN with three kills.

Duals No Damage
Techno4K engages in a long duel with his Dual Berettas but cannot land his shots and ends up losing.

Rifle Powerplay
Techno4K gets two kills with his rifle on the A bombsite, securing the round for The MongolZ.
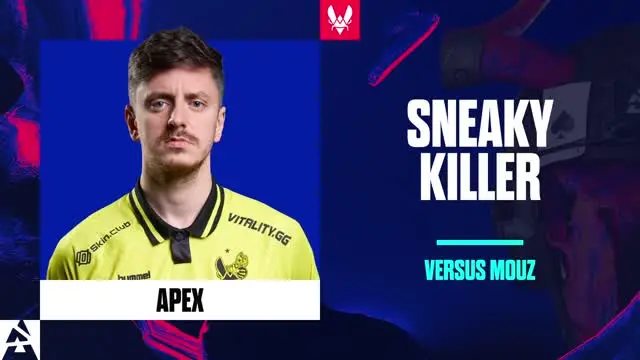
Sneaky Killer
apEX shoots an opponent completely unnoticed, as they are unaware of his position.
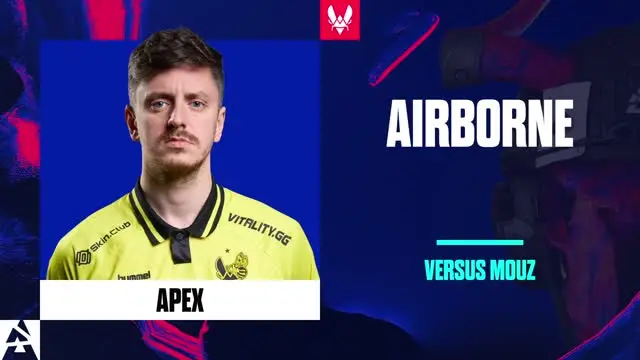
Airborne
apEX gets three fantastic kills, two of which he makes while in the air.

Exploit
Brollan takes advantage of the Molotov not landing correctly and uses it to hide.

Rifle Control
Brollan shuts down the B bombsite with three kills using his rifle.

Blast
Brollan shoots three opponents with his Glock and plays a key role in helping his team win the pistol round.
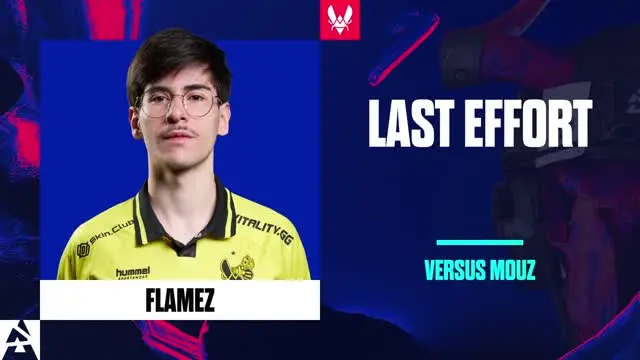
Last Effort
flameZ manages to take down two players from the opposing team in his attempt to retake the A bombsite, but it is not enough to win the round.

Pit Hold
Jimpphat gets two crucial kills with the USP from pit and helps his team win the round.

Pit Power
Jimpphat holds his ground in pit and manages to get two kills before going down himself.

Punisher from Pit
Jimpphat plays smart and shoots hard, taking down three opponents from his position in pit.

Retake Master
Jimpphat retakes the B site with his team, manages to take down four opponents, and defuses the bomb to win the round.

Jimmy Jabs
Jimpphat gets two kills as he and his team attack the A site, winning the round and the map.
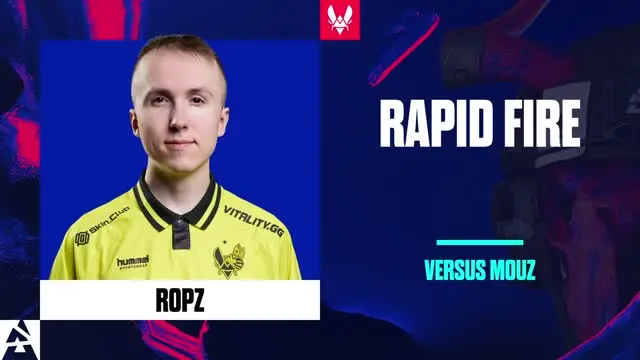
Rapid Fire
ropz takes down two players from the opposing team with his AK-47 and helps his team win the round.
Stronghold
ropz stands in pit and manages to kill two opponents with his Galil.
Spinx Inferno Triple Kill
Spinx takes down three in mid using both his Dual Berettas and a rifle.

Site Recovery
Spinx takes down two MOUZ players while retaking the B bombsite and helps his team win the round.
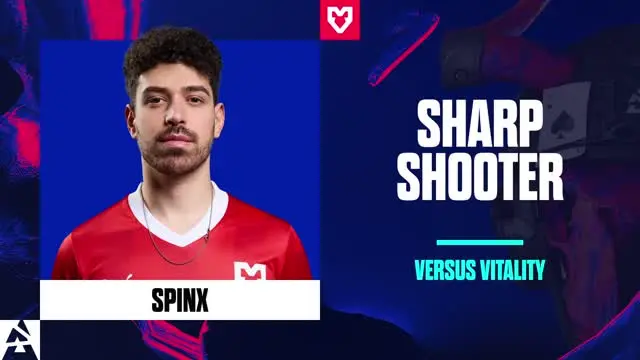
Sharp Shooter
Spinx takes down two opponents with his rifle and closes the round in his team's favor.

Hidden Threat
Spinx hides on the B bombsite for a long time and manages to shoot the opponent planting the bomb without being noticed.

Deadly Defense
torzsi sends two players to the grave with his USP and shuts down the A site.

FAMAS Specialist
torzsi gets two kills with his FAMAS and helps MOUZ win the round.

torzsi Double Inferno Kill
torzsi wins the round by shooting one opponent with his AWP and another with his pistol.

Close Call
torzsi misses a shot with his AWP but manages to escape alive.

Lethal On Long
torzsi takes down three opponents with his AWP on long.

Hit or Miss
torzsi misses two shots but still gets two kills in the round.

Tagging
torzsi makes a MOUZ 2025 Austin tag on the wall.

Bombsite Battle
torzsi is stuck on the A bombsite but manages to shoot two players and wins the round and the map for his team.

Pistol Punisher
xertioN shoots two pistol players with his rifle and helps his team win the round.

Round Closer
ZywOo shoots two opponents and closes the round by winning his one-versus-one duel.
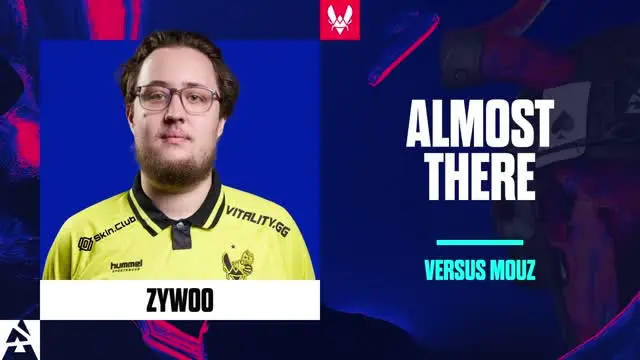
Almost There
ZywOo shoots three opponents with his USP, but unfortunately, it is not enough to win the round.

Striking MP9
ZywOo gets two kills with his MP9 and helps his team win the round.

Rifle Rampage
ZywOo defends the A bombsite and takes down three opponents with his rifle.

One Mag
ZywOo takes down four players from the opposing team using only one magazine.
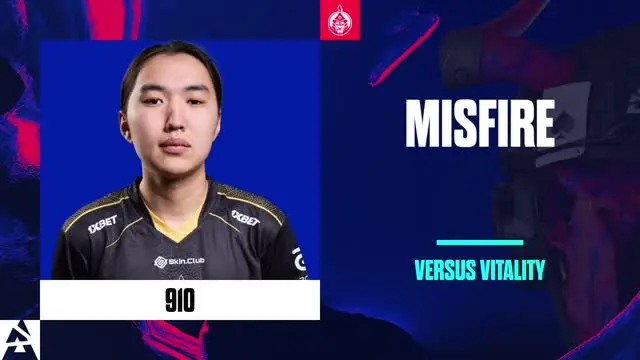
Misfire
910 misses shot after shot with his AWP and fails to take down any opponents.

Striking AWP
910 takes down two opponents with his AWP, one of which is a no-scope, but it's not enough to win the round.

Struggle
910 keeps shooting but still fails to kill his opponent.

910 Spray and Pray
910 fires many shots with his MP9, but they don't hit the opponent enough to secure the frag.

Kill Chain
910 single-handedly takes down two opponents with his FAMAS and helps his team win the round.
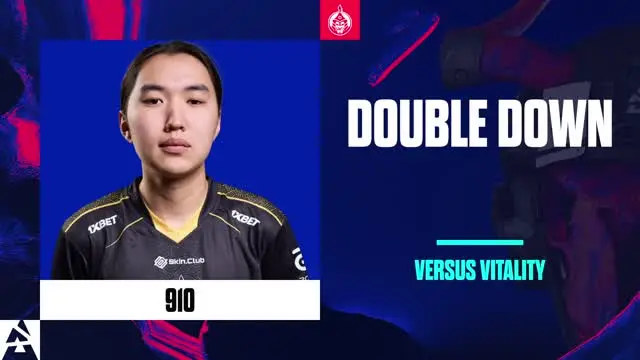
Double Down
910 takes down two opponents with his AWP, but it's not enough to win the round.
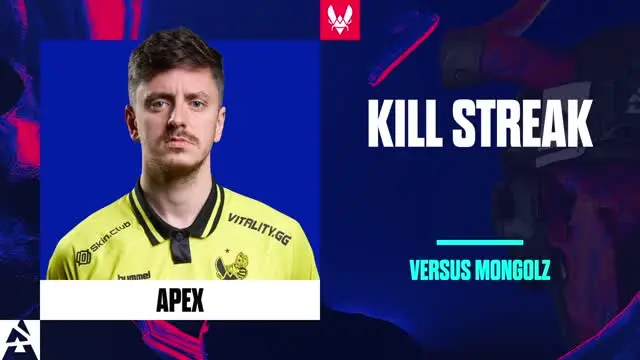
Kill Streak
apEX takes down three opponents on the B bombsite with his rifle and helps his team win the round.

Lead By Example
apEX shoots two opponents and wins the retake on the A bombsite, securing the round for his team.
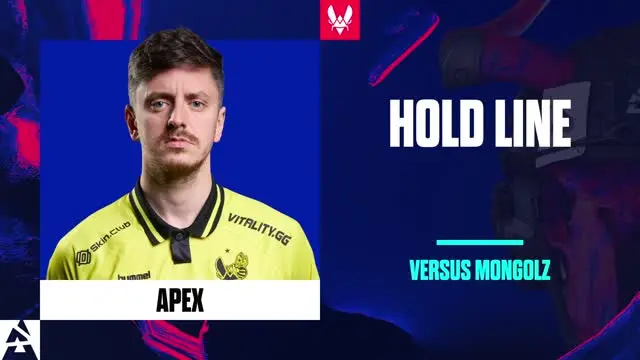
Hold Line
apEX bravely defends the A bombsite by taking down two opponents and wins the round for his team.
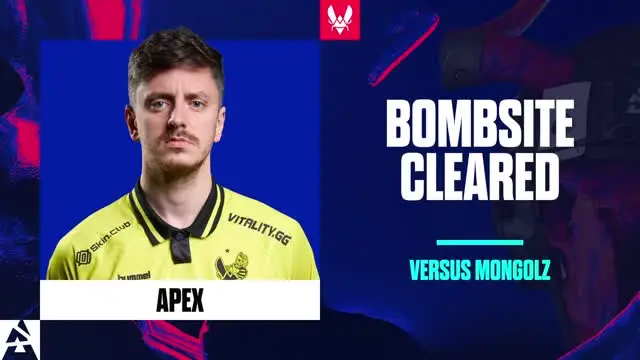
Bombsite Cleared
apEX retakes the A bombsite, sends three opponents to the grave, and wins the round for his team.

Own Fire
apEX is low on health and accidentally runs into his own Molotov, losing his life.
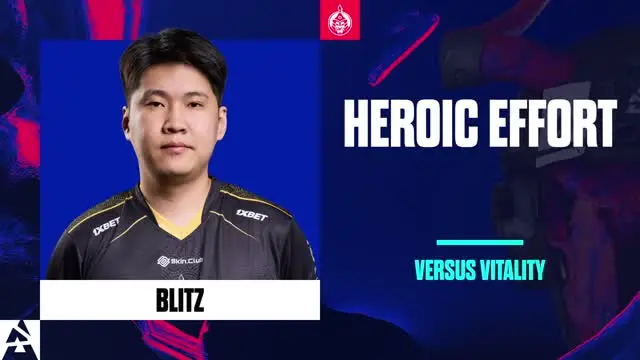
Heroic Effort
bLitz takes down three opponents as they attempt to retake the B bombsite, but it's not enough to win the round for his team.

Boom
bLitz lands a great running shot on his opponents, but it's not enough to win the round.
Backstabber
bLitz surprises the opponent by shooting two of them in the back, closing out the round.
flameZ Retake Denied
flameZ takes down two opponents in his attempt to retake the B bombsite, but ends up losing the round.

Testing123
flameZ tries out a new tactic by jumping into his opponentit doesn't end well.
Inferno Retake King
flameZ successfully retakes the A bombsite by taking down two opponents and winning the round for his team.
flameZ Almost Clutch
flameZ impressively manages to shoot two opponents with his Tec-9 and later in the round takes down another with his AK-47.

Round Here
flameZ shoots three opponents with his AK-47 and helps his team win the round.
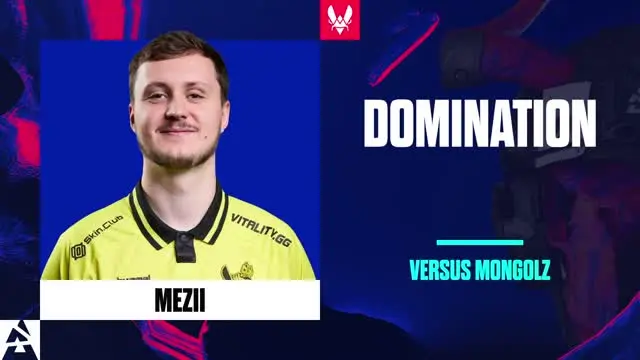
Domination
mezii defends the B bombsite, takes down three opponents, and wins the round for his team.
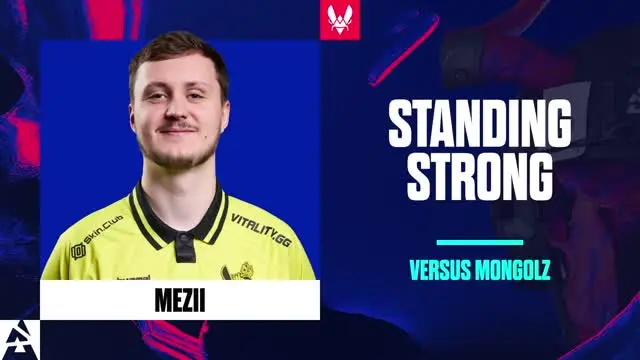
Standing Strong
mezii is alone defending the B bombsite but still manages to kill three opponents.
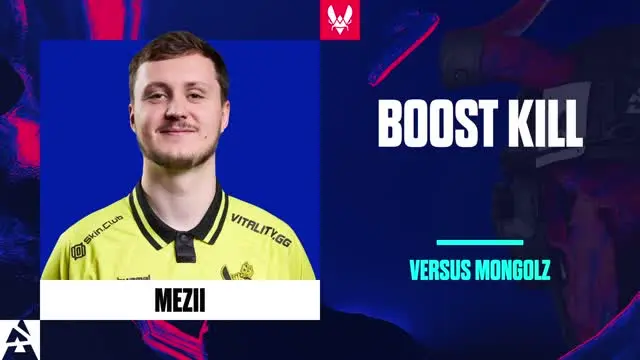
Boost Kill
mezii gets a clever boost from his teammate, allowing him to see over the smoke and pick off an opponent.
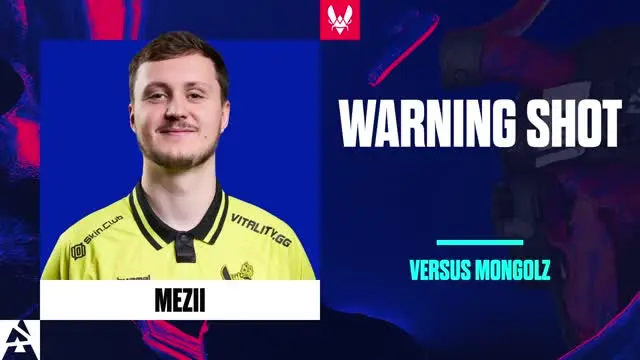
Warning Shot
mezii fires a lot of shots but suddenly stops shooting, allowing the opponent to escape alive.
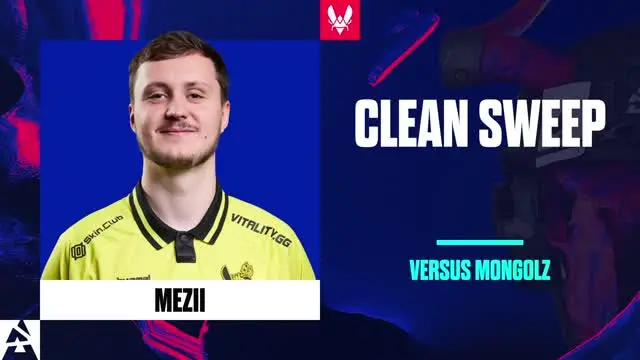
mezii Clean Sweep
mezii takes control over the A bombsite by shooting three opponents with his Glock.

Game Changer
mzinho has a powerful round, taking down four opponents and winning the round for his team.

Momentum
mzinho finds three kills in this round and wins the round for his team.
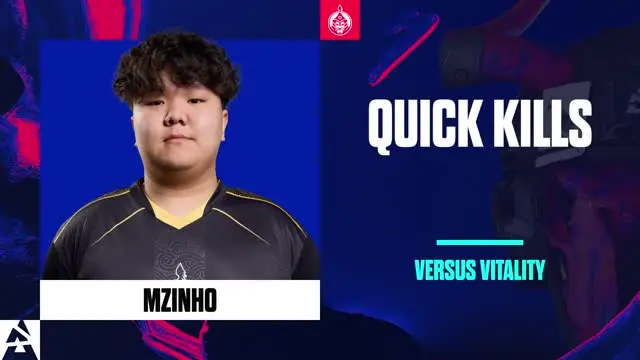
Quick Kills
mzinho gets two quick kills with his rifle and helps his team win the round.

Rampage
ropz kills three opponents with his MP9 and wins the round for his team.
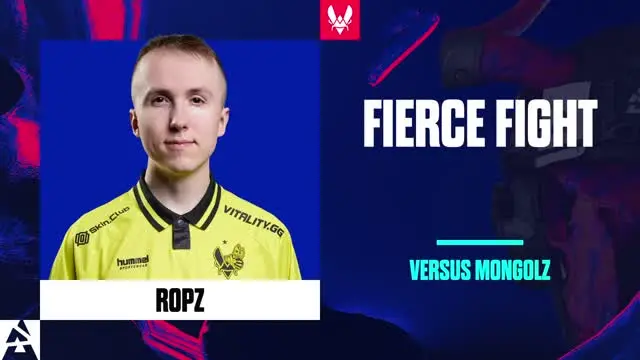
Fierce Fight
ropz fights a brave battle on the A bombsite and manages to take two opponents down with him.
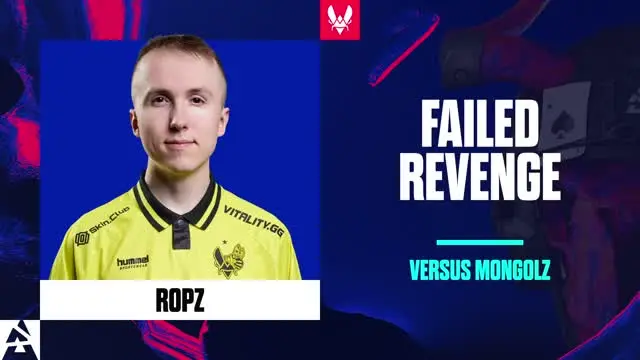
Failed Revenge
ropz fails to avenge his teammate as his shots don't hit the opponent enough.
One Shot
Senzu lands an impressive shot with his Deagle, killing his opponent.
Smoke Spray
Senzu fires many shots with his MP9 through a smoke and manages to shoot an opponent.

Striking Shots
Senzu first shoots an opponent with his rifle and then takes down another with his USP.

Techno Triumph
Techno4K takes down three opponents in the pistol round, including one with a knife.
Timed Push
Techno4K hides inside the smoke and then finds the perfect timing to push through and kill his opponent.

Clutch Win
Techno4K manages to win a one-versus-two and finishes the round by defusing the bomb.
CS2 Skins
CS2 Items
CS2 Cases
CS2 Tools
CS2 Guides
About
© 2025 skinsearch.com